Maytag MED6200KW Manual De Instrucciones
Idiomas disponibles
Idiomas disponibles
Enlaces rápidos
D D R R Y Y E E R R D D O O O O R R R R E E V V E E R R S S A A L L I I N N S S T T R R U U C C T T I I O O N N S S
Tools Needed
Flat-blade screwdriver
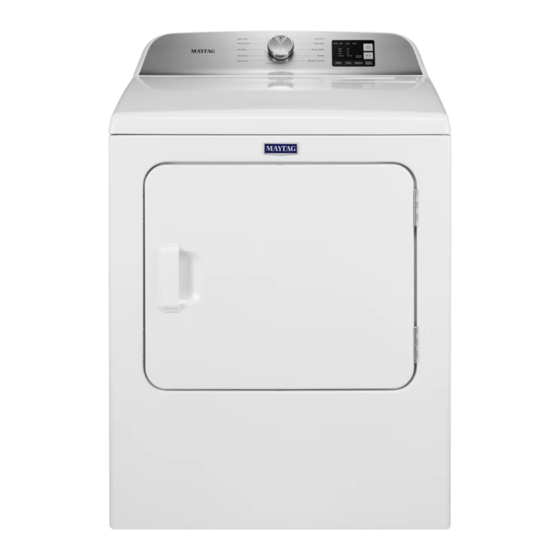
You can change your door swing from a right-side opening to a left-side opening, if desired. The following instructions are applicable for
models with a side-opening door.
WARNING
Electrical Shock Hazard
Disconnect power before removing doors.
Failure to do so could result in death or electrical shock.
1. Place towel on dryer
Place towel on top of dryer to avoid damaging the surface.
2. Remove bottom screws
Open dryer door. Remove bottom screws from dryer cabinet side
of hinges. Loosen (do not remove) top screws from dryer cabinet
side of hinges.
TORX and T25 are trademarks of Acument Intellectual Property, LLC.
Plastic putty knife
Minimum 8" long TORX
T25
®
star driver
3. Lift door off top screws
Lift door until top screws in dryer cabinet are in large part of hinge
slot. Pull door forward off screws. Set door (handle side up) on top
of dryer. Remove top screws from dryer cabinet.
4. Remove screws from hinges
Remove screws attaching hinges to door.
5. Remove screws from door
Remove screws at top, bottom, and side of door (4 screws) that
hold the inner and outer door together. Holding door over towel on
dryer, grasp sides of outer door and lift to separate it from inner
door. Set outer door aside.
NOTE: Do not pry apart with putty knife or screwdriver. Do not pull
on door seal or plastic door catches.
#2 Phillips screwdriver
®
1

Manuales relacionados para Maytag MED6200KW


Resumen de contenidos para Maytag MED6200KW
- Página 7 I I N N S S T T R R U U C C C C I I O O N N E E S S P P A A R R A A I I N N V V E E R R T T I I R R E E L L S S E E N N T T I I D D O O D D E E A A B B E E R R T T U U R R A A D D E E L L A A P P U U E E R R T T A A D D E E L L A A S S E E C C A A D D O O R R A A Herramientas necesarias Destornillador de cabeza plana...
- Página 8 6. Intercambie el seguro de la puerta, el bisel 9. Fije las bisagras de la puerta y el tapón Vuelva a fijar las bisagras de la puerta a la puerta de la secadora, de manera que el orificio más grande quede en la parte inferior de Quite el seguro de la puerta, el bisel y el tapón del interior de la la bisagra.
-
Página 9: Solución De Problemas
12. Inserte los tornillos en los orificios de la 13. Revise el alineamiento del tope de la bisagra que está en el gabinete de la puerta secadora Cierre la puerta y verifique que el tope de la misma esté alineado con el seguro de la puerta.