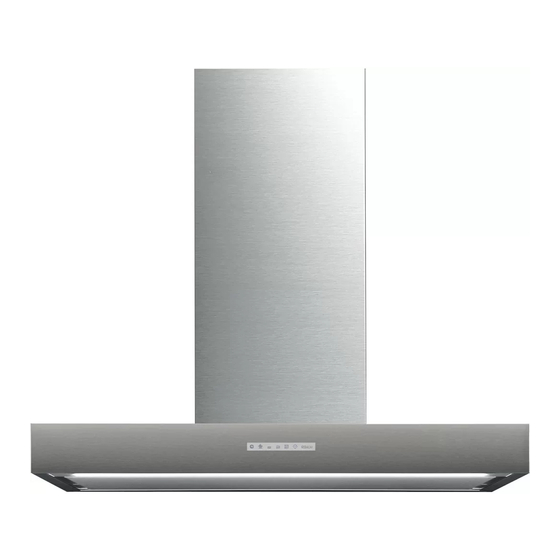
FALMEC Horizon Manual De Instrucciones
Tabla de contenido
Idiomas disponibles
Idiomas disponibles
Enlaces rápidos
Horizon
Lumina
Plane
Stilo
Vela
island/isola
LIBRETTO ISTRUZIONI
IT
EN
INSTRUCTIONS BOOKLET
GEBRAUCHSANWEISUNG
DE
FR
MODE D'EMPLOI
MANUAL DE INSTRUCCIONES
ES
RU
ИНСТРУКЦИИ
INSTRUKCJA OBSŁUGI
PL
NL
HANDLEIDING
MANUAL DE INSTRUÇÕES
PT
DK
BRUGSANIVSNINGER
INSTRUKTIONSBOK
SE
OHJEKIRJA
FI
BRUKSANVISNING
NO
Tabla de contenido

Manuales relacionados para FALMEC Horizon


Resumen de contenidos para FALMEC Horizon
- Página 1 Horizon Lumina Plane Stilo Vela island/isola LIBRETTO ISTRUZIONI INSTRUCTIONS BOOKLET GEBRAUCHSANWEISUNG MODE D'EMPLOI MANUAL DE INSTRUCCIONES ИНСТРУКЦИИ INSTRUKCJA OBSŁUGI HANDLEIDING MANUAL DE INSTRUÇÕES BRUGSANIVSNINGER INSTRUKTIONSBOK OHJEKIRJA BRUKSANVISNING...
- Página 2 Horizon 150: 54 kg 1500...
- Página 3 Horizon 180: 93 kg 387,2 1798 545.,6 353,4 353,4 516,6 382,4...
- Página 4 Lumina : 45 kg...
- Página 5 900 / 1200 Plane 90: 42 kg Plane 120: 44 kg...
- Página 6 Stilo : 52 kg...
- Página 7 Vela : 47 kg 1000 mounting bracket...
- Página 9 IT - Installazione su controsoffitto (1), a soffitto (2) e soffitto basso (3). EN - False ceiling (1), ceiling (2) and low ceiling (3) installation. DE - Zwischendeckeninstallation (1), Deckeninstallation (2) und Installation an niedrigen Decken (3). CEILING FR - Installation sur faux-plafond (1), sur plafond (2) et plafond SOFFITTO bas (3).
- Página 11 IT - Operazioni preliminari: RU - Предварительные операции: DK - Indledende handlinger: togliere pannello e filtri metallici (1). снимите панель и металлические tag panelet og metalfiltrene af (1). фильтры (1). UK - Preliminary operations: remove the SE - Förberedande arbeten: panel and the metal filters (1).
- Página 13 IT - Operazioni preliminari: smontaggio camera motore (4), montaggio traliccio inferiore alla camera motore (5), installazione valvola di non ritorno (6). UK - Preliminary operations: motor chamber disassembly (4), motor chamber bottom trestle assembly (5), check valve installation (6) DE - Vorbereitende Arbeiten: Motorkammer (4) abmon- tieren, untere Strebe an die Motorkammer anmon- tieren (5), Rückschlagventil installieren (6).
- Página 16 VELA IT - Fissaggio staffa (10). Montaggio estensione camino (11). UK - Securing of the bracket (10). Chimney extension assembly (11). DE - Bügel befestigen (10). Kamin-Verlängerung montieren (11). FR - Fixation de l'étrier (10). Montage extension conduit d’évacuation (11). ES - Fijación de la brida (10).
- Página 17 VELA IT - Fissaggio cappa a soffitto (12) e controsoffitto (13). UK - Securing of the hood to the ceil- ing (12) and false ceiling (13). DE - Die Haube an der Decke (12) und an der Zwischendecke (13) be- festigen.
- Página 19 IT - Installazione camino: a soffitto (16), a controsoffitto (17), a soffitto basso (18). UK - Chimney installation: ceiling (16), false ceiling (17), low ceil- ing (18). DE - Kamin installieren: Zwischendeckeninstallation (16), Decken- installation (17) und Installation an niedrigen Decken (18). FR - Installation conduit d’évacuation: sur plafond (16), faux-pla- fond (17) et plafond bas (18).
- Página 20 IT - Fissaggio mensola (19). Collegamento elettrico Lumina (20). Montaggio filtri e pannello (21). UK - Securing of the shelf (19). Lumina electric connection (20). Assembly of filters and panel (21). VELA DE - Bord befestigen (19). Lumina-Stecker anschließen (20). Filter und Platte (21) montieren.
-
Página 36: Instrucciones De Seguridad Y Advertencias
INSTRUCCIONES DE SEGURIDAD Si el equipo debe venderse o cederse a otra persona, compruebe que se adjunte el manual, de manera que el nuevo usuario pueda estar informado sobre el funcionamiento de la cam- Y ADVERTENCIAS pana y sobre las advertencias correspondientes. Después de instalar las campanas de acero inoxidable es necesario limpiarlas para elimi- nar los residuos de cola del protector y las posibles manchas de grasa o y aceites que, de Las operaciones de instalación deben efectuarlas instaladores competen-... -
Página 37: Funcionamiento
CONEXIÓN ELÉCTRICA FUNCIONAMIENTO (parte reservada solo a personal cualificado) ¿CUÁNDO HAY QUE ENCENDER LA CAMPANA? Antes de efectuar cualquier tipo de operación en la campana, desconecte el Encienda la campana al menos un minuto antes de comenzar a cocinar para transportar los equipo de la corriente eléctrica. -
Página 38: Mantenimiento
Si es necesario sustituir los ledes, diríjase al centro de asistencia. - Se apaga el motor (botón - Si cambia la velocidad. ILUMINACIÓN (HORIZON e LUMINA) ALARMA FILTROS (Led rojo fijo con motor OFF La campana cuenta con iluminación gracias a lámpara fluorescente. - Página 63 NOTE - NOTES...