Rimage Everest III Guia De Instalacion
Tabla de contenido
Idiomas disponibles
Idiomas disponibles
Enlaces rápidos
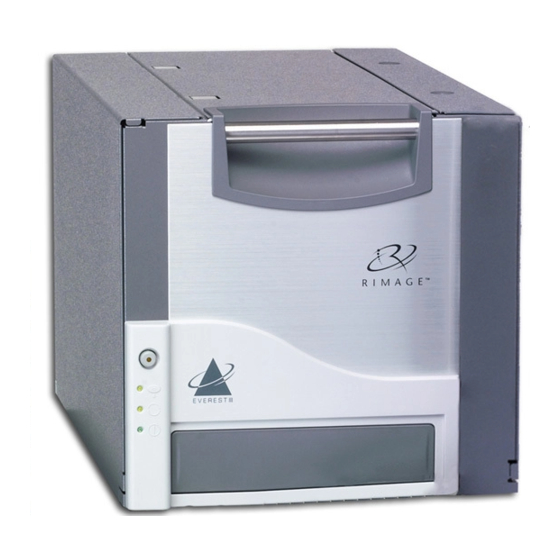
Rimage
Everest
III and 600
®
™
Setup and Installation Guide
Before You Begin:
This document is intended for people who are familiar with hardware setup,
software installation, and Windows operating systems. If you do not understand
the procedures in this document, ask your computer technician for help.
This guide provides the information needed to set up a standalone Everest
printer.
-
Important!
•
If your Everest printer is part of an autoloader system, including Producer
III, Producer IIIN, and Professional systems, refer to your autoloader's
setup and installation guide for instructions on setting up the Everest
Printer.
•
If your Everest printer is part of an AutoPrinter, refer to the Rimage
AutoEverest Setup and Installation Guide.
•
Documents referenced in this procedure shipped with your product and
are also available online at www.rimage.com/support. Select: Printer
Series > Everest III or 600 > User Manuals tab.
•
Read all setup instructions thoroughly before you begin.
•
Save all packing boxes and packing materials.
Notes:
•
The terms "Everest" and "printer" are used throughout this document to
refer to both the Everest III and Everest 600, unless otherwise specified
•
Your product may not look exactly like the product pictured.
Required tools: Phillips screwdriver
#
2001410_B
1
Prepare the Everest Printer
Unpack the Everest printer. Refer to the
a.
label on the printer box for instructions.
Set the AC voltage switch.
b.
Move the shipping screw.
c.
On the rear of the Everest printer,
i.
remove the shipping screw from
the shipping position using a Phillips
screwdriver.
Install the shipping screw in the
ii.
storage position.
Note: Follow the instructions on the
instruction card on the rear of the printer.
Press the two side cover latches.
d.
Lower the the side cover.
e.
Open latches 1, 2, and 3 as indicated by
f.
the arrows.
2
Install the Print Ribbon
a. Remove the plastic packing pieces
from inside the printer.
b. Remove the print ribbon carrier by
pulling the handle.
Print
Ribbon
Carrier
c. Lay the print ribbon carrier on its
back.
d. Wrap the print ribbon around the
Supply
guide rollers as shown.
Roll
e. Snap the supply roll and take-up
roll into the print ribbon carrier.
f.
Tighten the print ribbon by turning the take-up roll clockwise.
g. Insert the print ribbon carrier into the printer.
Note: Do not close the latches yet.
Copyright © 2009 Rimage Corporation
3
Install the Retransfer Ribbon
AC Voltage
a. Pull the retransfer ribbon carrier
Switch
out by the handle.
Note: The retransfer ribbon carrier
remains attached to the printer.
b. Slide the retransfer ribbon under the retransfer ribbon carrier.
Shipping
Storage
-
Important! The Everest III and Everest 600 retransfer ribbons are
Positon
Position
installed differently.
Everest III
Side Cover Latches
The ribbon goes over the supply
roll, as shown below.
Supply
Roll
c. Snap the supply roll and take-up roll onto the carrier.
d. Tighten the retransfer ribbon
by turning the takeup roller
Latch 1
counterclockwise.
Latch 2
Latch 3
e. Slide the retransfer ribbon carrier
into the printer.
f.
Close latches 1, 2, and 3, as indicated
by the arrows.
Plastic Packing Pieces
g. Close the printer side cover
4
Attach the Cables
If you will be using the Everest as a standalone printer, attach the
cables as described below.
-
Important! If you are installing the Everest printer on an
autoloader or AutoPrinter, refer to your product's setup and installation
guide for cabling instructions.
a. Connect the USB cable to the rear
of the printer.
b. Connect the other end of the USB
Guide Rollers
cable to the computer's USB port.
c. Connect the power cord to the rear
Take-up
of the printer.
Roll
d. For now, leave the power cord
disconnected from the power outlet.
Note: The Everest printer powers on when the power cord
is connected from the printer to the power outlet. You will be
powering on the printer during driver installation in step 6.
Retransfer
Ribbon Carrier
Everest 600
The ribbon goes under the supply
roll, as shown below.
Take-up
Roll
Supply
Take-up
Roll
Roll
Latch 1
Latch 2
Latch 3
USB Cable
Power
Cord
Page 1
Tabla de contenido

Manuales relacionados para Rimage Everest III


Resumen de contenidos para Rimage Everest III
- Página 7 En todo este documento, se utilizan los términos “Everest” e “impresora” alimentación desconectado de la Gire el rodillo de recogida hacia para referirse a Everest III y Everest 600, a menos que se especifique de toma corriente. la derecha para ajustar la cinta otra manera.
-
Página 8: Instalación Del Software Rimage (Sólo Pc)
(Found New Hardware Wizard). Nota: si aparece el Asistente de nuevo hardware encontrado Consulte la Guía del usuario de las impresoras Rimage Everest III y (Windows XP, Windows 2000 o Windows Server 2003 únicamente), 600 para obtener instrucciones sobre la configuración de impresión, el siga las instrucciones para completarlo: funcionamiento y el mantenimiento de la impresora Everest.