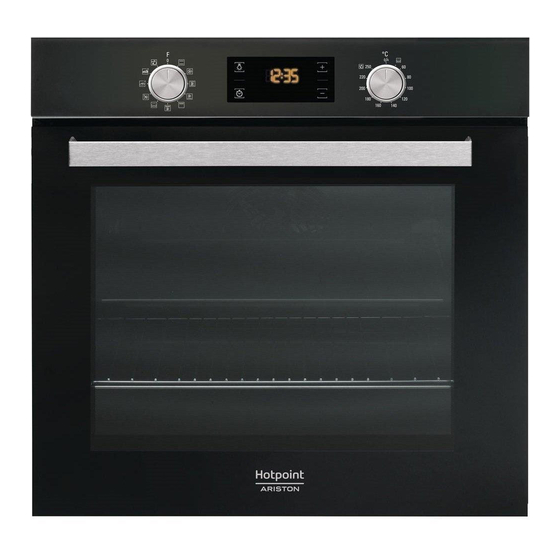
Hotpoint FA5 841 P IX HA Guía Rápida
Tabla de contenido
Idiomas disponibles
Idiomas disponibles
Enlaces rápidos
Quick guide
THANK YOU FOR BUYING A HOTPOINT-
ARISTON PRODUCT
In order to receive a more complete
assistance, please register your product on
www . hotpoint . eu/register
CONTROL PANEL DESCRIPTION
1
1. SELECTION KNOB
For switching the oven on by selecting a
function.
Turn to the
position to switch the oven
off.
2. LIGHT
With the oven switched on, press to turn
the oven compartment lamp on or off.
SLIDING RUNNERS AND SHELF GUIDES
Before using the oven remove the protective tape [a] and then
remove the protective foil [b] from the sliding runners.
REMOVING THE SLIDING RUNNERS [c]
Pull the lower part of the sliding runner to uncouple the lower
hooks (1) and pull the the sliding runners upwards, removing
them from the upper hooks (2).
REFITTING THE SLIDING RUNNERS [d]
Hook the upper hooks on the shelf guides (1) then press the
lower part of the sliding runners against the shelf guides, until
FIRST TIME USE
1. SETTING THE TIME
You will need to set the time when you switch on the appliance
for the first time: Press
for the hour start flashing on the display.
Use
or
to set the hour and press
digits for the minutes will start flashing. Use
minutes and press
to confirm.
2
3
3. SETTING THE TIME
For accessing the cooking time settings,
delayed start and timer.
For displaying the time when the oven is
off.
4. DISPLAY
until the
icon and the two digits
to confirm. The two
o
to set the
Before using the appliance carefully read the Safety
Instruction.
4
5
5. ADJUSTMENT BUTTONS
For changing the cooking time settings
6. THERMOSTAT KNOB
Turn to select the temperature you
require when activating manual
functions.
For automatic functions keep on
the lower hooks are clicking (2).
2
1
REMOVING AND REFITTING THE SHELF GUIDES
1. To remove the shelf guides, firmly grip the external part of the
guide, and pull it towards you to extract the support and the
two internal pins from the lodging.
2. To reposition the shelf guides, position them near the cavity
and initially insert the two pins into their lodgings. Next,
position the external part near its lodging, insert the support,
and firmly press towards the wall of the cavity to make sure the
shelf guide is properly secured.
Please note: When the
lengthy power outages, you will need to reset the time.
2. SET THE POWER CONSUMPTION
By default the oven is programmed to work at a power higher
than 3 kW (Hi): To operate the oven at a power that is compatible
with a domestic power supply less than 2,9 kW (Lo), you will
need to change the settings.
To go to the change menu, turn the selection knob to
turn it back to
.
Press and hold
and
afterwards.
1
[c]
icon is flashing, for example following
for five seconds immediately
EN
6
/A
.
2
[d]
, then
Tabla de contenido

Manuales relacionados para Hotpoint FA5 841 P IX HA


Resumen de contenidos para Hotpoint FA5 841 P IX HA
-
Página 13: Descripción Del Panel De Control
Antes de usar el aparato, lea atentamente las Instrucciones Para recibir una asistencia más completa, registre de seguridad. su producto en www . hotpoint . eu/register DESCRIPCIÓN DEL PANEL DE CONTROL 1. SELECTOR 3. AJUSTE DE LA HORA 5. BOTONES DE AJUSTE Para encender el horno seleccionando una Para acceder a la configuración del... -
Página 14: Funciones Y Uso Diario
3. CALENTAR EL HORNO Un horno nuevo puede liberar olores que se han quedado impregnados durante la fabricación: es completamente normal. Antes de empezar a cocinar, le recomendamos calentar el horno en vacío para eliminar cualquier olor. Quite todos los cartones de protección o el film transparente del Utilice para cambiar las configuraciones, luego pulse y horno y saque todos los accesorios de su interior. -
Página 15: Ajuste Del Temporizador
Gire el selector para seleccionar una función diferente o póngalo en la posición « » para apagar el horno. Nota: Si el temporizador está activo, la pantalla mostrará alternativamente “END” y el tiempo restante. 5. AJUSTE DEL TEMPORIZADOR Utilice para configurar el tiempo de cocción deseado y Esta opción no interrumpe ni programa la cocción, pero le permite después pulse para confirmar. -
Página 16: Resolución De Problemas
«F». número. Descargue la Guía de uso y cuidado completa en docs.hotpoint.eu para más información sobre su producto Puede consultar los reglamentos, la documentación estándar y información adicional sobre productos mediante alguna de las siguientes formas: •...