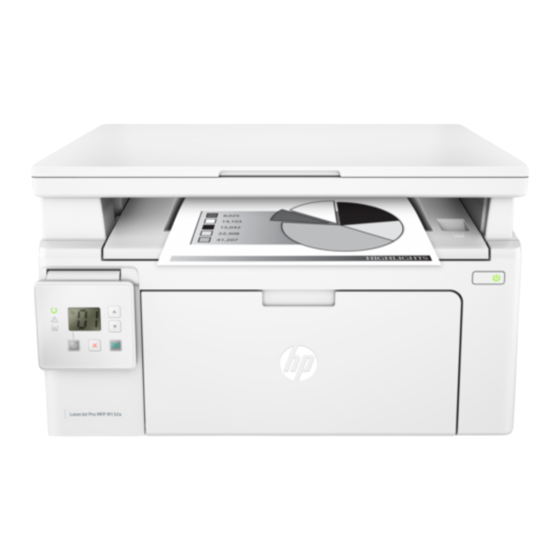
HP LaserJet Pro MFP M129 Guía De Inicio
Ocultar thumbs
Ver también para LaserJet Pro MFP M129:
- Manual de instrucciones (2 páginas) ,
- Guia de inicio rapido (49 páginas)
Tabla de contenido
Idiomas disponibles
Idiomas disponibles
Enlaces rápidos
LaserJet Pro MFP M129-M132,
LaserJet Ultra MFP M133-M134
Getting Started Guide
IMPORTANT:
Steps 1 - 3
Follow
on
the printer hardware setup
poster, then continue
with
Step
4.
5. Select a connection method
USB connection directly between the
printer and the computer
Use an A-to-B type USB cable.
Windows
1.
Do not connect the USB cable before installing the software. The
installation process prompts to connect the cable at the appropriate
time. If the cable is already connected, restart the printer when
installation prompts to connect the cable.
2.
Continue to
"6. Download and install the software."
OS X
1.
Connect the USB cable between the computer and the printer before
installing the software.
2.
Continue to
"6. Download and install the software."
Wired (Ethernet) network connection
(optional)
Use a standard network cable.
1.
Connect the network cable to the printer and to the network. Wait a few
minutes for the printer to acquire a network address.
2.
Continue to
"6. Download and install the software."
www.hp.com/support/ljM129MFP
4. Set up the control panel
At the printer control panel, check the display status before beginning software installation.
www.register.hp.com
Wireless network connection
(wireless models only)
Touchscreen control panels
1.
To connect the printer to a wireless (Wi-Fi) network, on the printer control
panel, touch the Wireless
2.
Touch Wireless Menu, and then touch Wireless Setup Wizard. Select
the network name from the SSID list, or enter the network name if it is
not listed.
3.
Use the keyboard to enter the passphrase, and then touch the OK button.
4.
Wait while the printer establishes a network connection.
5.
On the printer control panel, touch the Network button. If an IP address
is listed, the network connection has been established. If not, wait a few
more minutes and try again. Note the IP address for use during software
installation. Example IP address: 192.168.0.1
2-line/LED control panels
1.
To connect the printer to a wireless (Wi-Fi) network, make sure that the
printer, access point, and computer are turned on and that the computer is
connected to the wireless network.
2.
A USB cable might be required during software installation.
3.
To print from a computer, continue with
software."
To print from a phone or tablet only, continue with
printing (optional)."
Manually configure the IP address
See the printer user guide for information on how to manually configure the
IP address www.hp.com/support/ljM129MFP.
1
English................. 1
Français ............... 4
Deutsch ............... 7
Italiano .............. 10
Español ............. 13
Català ................ 16
Dansk ................ 19
Nederlands ........ 22
Eesti................... 25
Suomi ................ 28
Latviešu ............. 31
Lietuvių ............. 34
Norsk ................. 37
Português ......... 40
Svenska ............. 43
button.
"6. Download and install the
"7. Mobile
Tabla de contenido

Manuales relacionados para HP LaserJet Pro MFP M129


Resumen de contenidos para HP LaserJet Pro MFP M129
-
Página 13: Configuración Del Panel De Control
Continúe con “6. Descarga e instalación del software”. Configuración manual de la dirección IP Consulte la Guía del usuario de la impresora para obtener información sobre cómo configurar manualmente la dirección IP www.hp.com/support/ljM129MFP. -
Página 14: Descarga E Instalación Del Software
6. Descarga e instalación del software Método 1: Descarga desde HP Easy Start (Windows y OS X) Método 3: Instalación desde el CD de la impresora Vaya a 123.hp.com/laserjet y haga clic en Descargar. (solo Windows) Siga las instrucciones e indicaciones en pantalla para guardar el archivo en Inserte el CD de la impresora en el equipo. -
Página 15: Uso De La Función De Escaneado
Uso de la función de escaneado Utilice el software HP Scan en el equipo para iniciar un trabajo de escaneado en la impresora. Windows OS X Abra HP Printer Assistant, seleccione Escanear y a continuación, seleccione Escanear Haga clic en Aplicaciones y seleccione HP y, a continuación, HP Easy Scan.