Brizo MultiChoice Charlotte T60085 Instrucciones Para La Instalación
Tabla de contenido
Idiomas disponibles
Idiomas disponibles
Enlaces rápidos
ASME A112.18.1 / CSA B125.1
ASSE 1016 TYPE T
Write purchased model number here.
For easy installation of your Brizo
you will need:
• To READ ALL the instructions completely
before beginning.
• To READ ALL warnings,care, and
maintenance information.
Table of Contents:
Warranty ............................................................................. Page 2
Installation Instructions ....................................................... Pages 3 - 6
Maintenance ....................................................................... Page 6
Replacement Parts ............................................................. Page 7
THIS VALVE MEETS OR EXCEEDS THE
FOLLOWING STANDARDS:
ASME A112.18.1/CSA B125.1 and ASSE 1016.
CAUTION: This system/device must be set by the
installer to ensure safe, maximum temperature.
Any change in the setting may raise the discharge
temperature above the limit considered safe and
may lead to hot water burns.
NOTICE TO INSTALLER: CAUTION!–As the
installer of this valve, it is your responsibility
to properly INSTALL and ADJUST this valve
per the instructions given. This valve does
not automatically adjust for inlet temperature
changes, therefore, someone must make the
necessary temperature knob adjustments at
the time of installation and further adjustments
may be necessary due to seasonal water
temperature change. YOU MUST inform the
owner/user of this requirement by following the
instructions. If you or the owner/user are unsure
how to properly make these adjustments, please
refer to page 6 and if still uncertain, call us at
1-877-345-BRIZO (2749).
After installation and adjustment, you must affix
75651 Rev. A
MultiChoice
Installation Instructions
Owners Manual
Charlotte™
faucet
®
T60085
You May Need
your name, company name and the date you
adjusted the temperature knob to the caution label
provided and apply or attach the label to the back
side of the closest cabinet door and the warning
label to the water heater. Leave this Instruction
Sheet for the owner's/user's reference.
WARNING: This thermostatic bath valve is
designed to minimize the effects of outlet water
temperature changes due to inlet pressure and
temperature changes, commonly caused by
dishwashers, washing machines, toilets and
the like. It may not provide protection from hot
water burns when there is a failure of other
temperature controlling devices elsewhere
in the plumbing system, if the temperature
knob is not properly set or if the hot water
temperature is changed after the settings
are made or if the water inlet changes due to
seasonal changes.
WARNING: Do not install a shut-off device on
either outlet of this valve. When this type of
device shuts off the water flow, it can defeat
the ability of the valve to balance the hot and
cold water pressures.
1
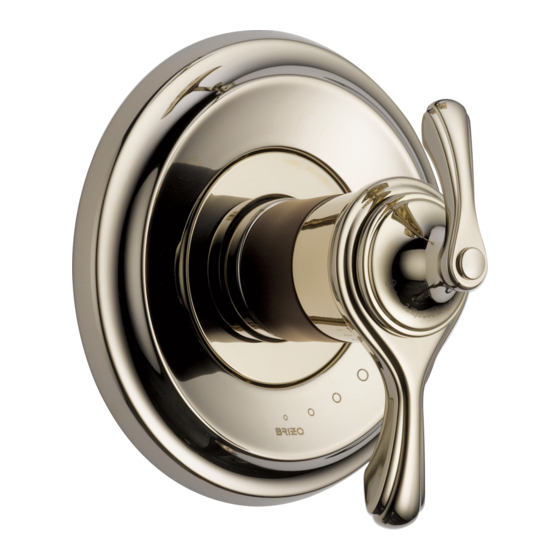
Valve Trim
®
T60285
T60485
3/4/13
Tabla de contenido

Manuales relacionados para Brizo MultiChoice Charlotte T60085


Resumen de contenidos para Brizo MultiChoice Charlotte T60085
-
Página 7: Usted Puede Necesitar
Manual para los Propietarios Charlotte™ ASME A112.18.1 / CSA B125.1 ASSE 1016 Escriba aquí el número del modelo comprado. Para instalación fácil de su llave Brizo ® usted necesitará: • LEER TODAS las instrucciones completamente antes de empezar • LEER TODOS los avisos, cuidados, e información de mantenimiento. -
Página 8: Garantía Limitada De Por Vida De La Llave Y Su Acabado
GarantÍa Limitada De Por Vida de la Llave y su Acabado DAÑOS ESTÁN EXCLUÍDOS. Prueba de compra Todas las piezas y acabados de la llave Brizo ® (recibo original de venta) del comprador están garantizados al consumidor comprador consumidor original debe de ser disponible a original, de estar libres de defectos de material y Delta para todos los reclamos. -
Página 9: Instalación De La Serie
Instalación de la Serie 60 Instalación del Cartucho Cierre los suministros de agua. Quite la cubi- Gire el cartucho (1) de manera que la palabra “UP” erta (1), la tuerca tapa (2) y la tapa de prueba (3). (2) aparezca encima. Introduzca el cartucho en el Si no es para instalar en pared delgada, puede cuerpo de la válvula como se muestra. - Página 10 Instalación de la Serie 60 Instalación de la Cabeza de la Regadera y el Surtidor de la Bañera NOTA: Se sugiere que ancle el brazo de su regadera y los codos del surtidor de la bañera o las líneas de agua. PARA LA INSTALACIÓN DE REGADERA: Conecte la salida superior (1) al brazo de la rega- dera o ducha (2) con los accesorios apropiados.
-
Página 11: Instalación Final
Instalación de la Serie 60 Instalación Final Deslice el aro O (1) sobre el cartucho y la Si su modelo requiere un separador (1), insértelo en tuerca tapa (2). El aro O, el cual funciona como la manga (2). Deslice la manga sobre el cartucho, el un separador para estabilizar la manga, debe cuerpo de la pieza y el aro O. -
Página 12: Mantenimiento De La Serie
Instalación de la Serie 60 Instalación y Ajuste del Pomo de Temperatura El no hacerlo puede causar lesión. ¡Ajuste el tope del límite de temperatura. Retire la perilla de temperatura y vuelva a Abra los suministros de agua, deje correr el colocarla en las ranuras (2), asegurándose que la agua, tanto la caliente como la fría a lo máximo, perilla o control del tope del límite de temperatura... - Página 19 T60085, T60285 & T60485 Models / Modelos / Modèles RP70909 Order Model 87385s Shower Arm & Flange Showerhead Brazo de Regadera y Pestaña Cabeza de Regadera Tuyau de Pomme de Douche et Collerette Pomme de Douche RP74785 Available Extension Kit Kit de Extensión disponible RP49089s Kit d’extension disponibles...