Oki TSP700 Guia De Inicio Rapido
Tabla de contenido
Idiomas disponibles
Idiomas disponibles
Enlaces rápidos
Buzzer for RT322/OKIPOS 441
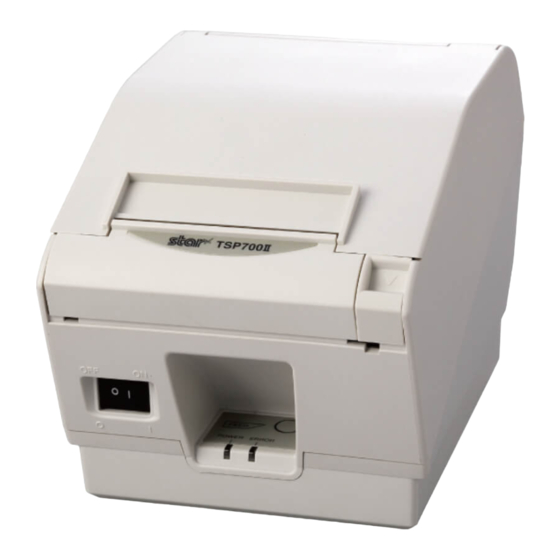
1. Parts :
Use the following parts.
Bracket
2. Mounting procedures :
Note :
Ensure that power that is supplied to the printer and that all devices connected to the printer have been
2-1.Removing the grounding bracket
Slide the grounding bracket to remove it. (See Fig. 2-1)
2-2. Removing the buzzer cover
Remove the four clips on the bottom case to remove the upper case. (See Fig. 2-2)
Remove the two screws to remove the buzzer from the bottom case. (See Fig. 2-2)
Note :
2-3. Mounting the bracket
place. (See Fig. 2-3)
2-4. Storing the Cable
Store the connector of the user cable in the bracket as shown in the drawing. (See Fig. 2-4)
Upper case
Bottom case
< Fig. 2-2 >
58399001
Buzzer
M2.6 screws
( for mounting the bracket )
Not Used
M3 screw
Grounding bracket
M2.6 screws
< Fig. 2-3 >
© Copyright 2009 OKI Data Americas, Inc.
< Fig. 2-1 >
< Fig. 2-4 >
Tabla de contenido

Manuales relacionados para Oki TSP700


Resumen de contenidos para Oki TSP700
-
Página 5: Procedimiento De Montaje
Zumbador para RT322/OKIPOS 441 1. Piezas: Utilice las siguientes piezas. Soporte Zumbador Tornillo M3 Tornillos M2.6 (para montar el soporte) 2. Procedimiento de montaje: Nota: Asegúrese de que el suministro de energía a la impresora está desconectado y que además, todos los dispositivos conectados a la impresora están apagados y sus cables desconectados antes de comenzar con las modi caciones. -
Página 6: Instalación Del Zumbador
2-5. Instalación del zumbador Instale calzando el gancho del soporte en la impresora. Apriete el tornillo. Nota: Al instalar el soporte tenga cuidado de no pinchar el cable del zumbador. Tornillo M3 2-6. Conexión del cable del zumbador Enchufe el cable del zumbador en el conector de la unidad periférica en la parte posterior de la impresora. De esta manera naliza la tarea de instalación.