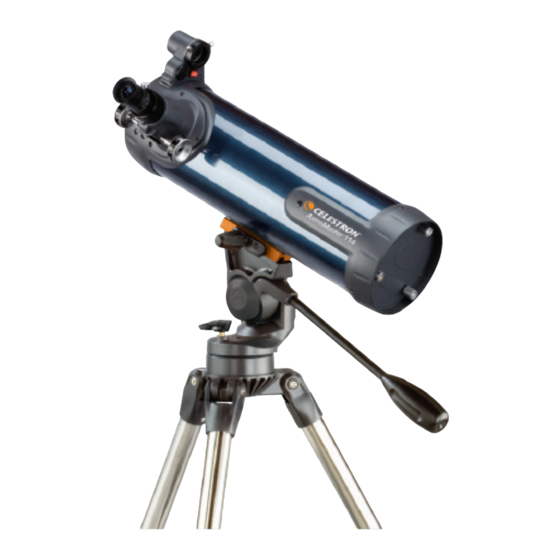
Celestron AstroMaster LT 76AZ Guía De Configuración Rápida
Idiomas disponibles
Idiomas disponibles
Enlaces rápidos
1
Your AstroMaster 114AZ includes: optical tube w/
built-on StarPointer finderscope, pre-assembled
tripod with center leg brace and attached
altazimuth mount,t wo eyepieces, accessory
tray, battery, owner's manual, and The Sky™ CD
Software.
4
All three legs should be the same length to provide
a level platform for the telescope.
7
Here is how the fully assembled tripod and mount
should appear.
2
To set up the tripod, spread the legs outward until
they are fully extended. Extend each of the three
tripod legs down 6-12".
5
To attach the accessory ray, line up notches and
turn clockwise until tray tabs lock into place with
the tripod brackets
8
dovetail
mount
fastening
screws
Next slide telescope tube into the mount. Be sure
to back out fastening screws to allow enough
clearance for the dovetail
www.celestron.com
Quick set-up guide for:
Model #31036 – AstroMaster LT 76AZ
Model #31043 – AstroMaster 114AZ
Questions or Problems with Set-up?
CONTACT: Celestron Technical Support:
310.803.5955
Quick Set-up Guide
3
Use the three tightening screws located at the
bottom of each leg to secure the extended legs
in place.
6
Properly assembled, the accessory tray should
appear as pictured above.
9
Center dovetail in the mount and tighten fastening
screw. For added security tighten the angled lock
down screw next to the fastening screw.

Manuales relacionados para Celestron AstroMaster LT 76AZ


Resumen de contenidos para Celestron AstroMaster LT 76AZ
-
Página 7: Guía Para Realizar Un Ensablaje R Á Pido
Guía para realizar un ensablaje rápido: Modelo Nº 31036 – AstroMaster LT 76AZ Modelo Nº 31043 – AstroMaster 114AZ Preguntas o problemas referentes al ensamblado CONTACTO: Asistencia técnica de Celestron: 310.803.5955 Guía para realizar un ensablaje r á pido Su AstroMaster 114AZ incluye: tubo óptico con... - Página 8 Guía para realizar un ensablaje rápido [continuación] Cubierta de la pila Pila Afloje el tornillo de colocación sobre el mecanismo Inserte el tambor cromado del ocular de 20 mm Desenrosque la cubierta de la pila del buscador del de enfoque. Saque la tapa plástica que cubre el dentro del mecanismo de enfoque y ajuste el telescopio StarPointer.