Tabla de contenido

Manuales relacionados para RAM Audio Pi Serie


Resumen de contenidos para RAM Audio Pi Serie
- Página 1 Professional Power Amplifiers Series Pi2 3K-5K Pi4 6K-10K OPERATION MANUAL BEDIENUNGSANLEITUNG MANUAL DE EMPLEO P-8004-155 © 2021 by C.E. Studio-2 s.l. - Spain (EEC) QXPDQXDoc ramaudio.com e-mail: support@ramaudio.com 4/21...
-
Página 2: Safety Precautions
SAFETY PRECAUTIONS SICHERHEITSHINWEISE ADVERTENCIAS WARNING: ACHTUNG!: PRECAUCIÓN: The exclamation point inside an Das Ausrufezeichen innerhalb eines El signo de exclamación en el interior equilateral triangle indicates the existen- Dreiecks weist darauf hin, dass der de un triángulo equilátero indica la exis- ce of internal components whose substi- Austausch interner Bauteile die tencia de componentes internos cuya... - Página 3 Phone: +34 96 127 30 54 Fax: +34 96 127 30 56 ramaudio.com support@ramaudio.com P-8004-155 QXPDQXDoc 4/21 ™ ™ ™ RAM Audio , SSP , ICL ® QuantaPulse ™ are registered trade- marks of C.E. Studio-2 s.l.. All other names are trademarks of their respec-...
-
Página 4: General Information
Allgemeine Informaciones General Information Anweisungen generales 1.1 Introduction 1.1 Einführung 1.1 Introducción Pi is a multipurpose series of power amps for Pi ist eine Mehrzweckreihe von Pi es una serie de amplificadores de poten- touring and installation applications, based Leistungsverstärkern für Touring- und cia multiusos tanto para aplicaciones de tour- on the legendary QuantaPulse™... -
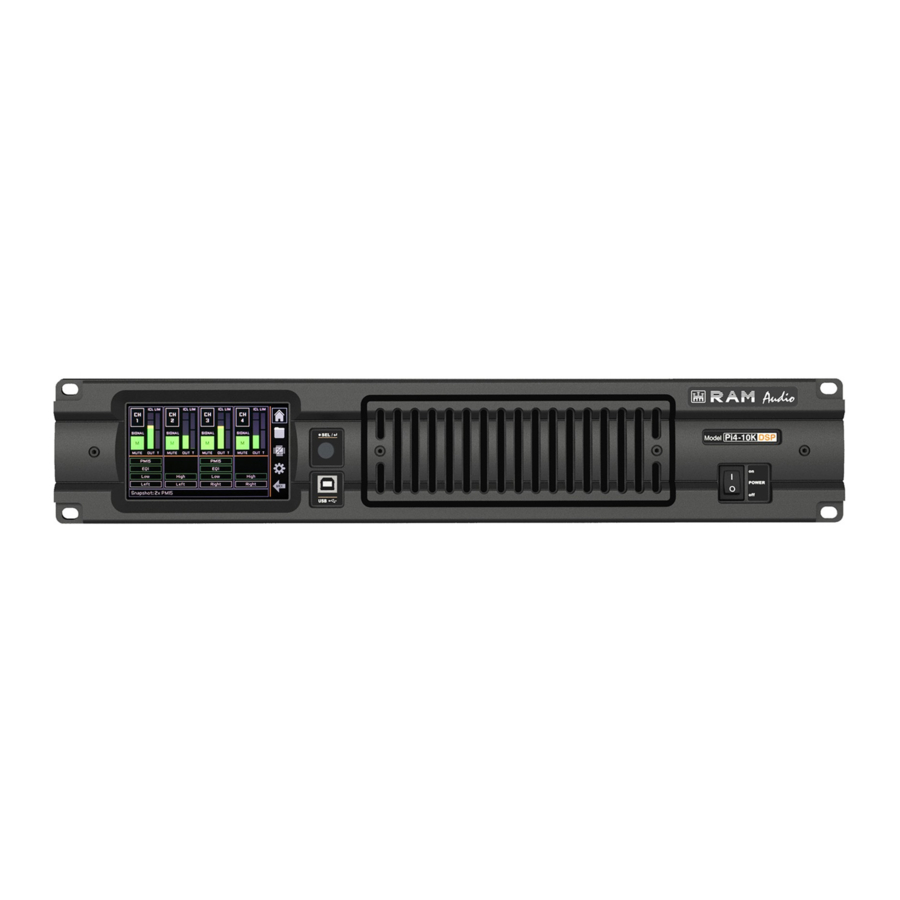
Página 5: Panel Frontal
Controls: Lokalisierung der Controles: Where and What? Funktionen ¿Dónde y qué? 2.1 Front Panel 2.1 Frontplatte 2.1 Panel frontal See Figure Siehe Fig. Ver Figura Main Power Switch: Beleuchteter Hauptstromschalter: Interruptor principal: Position I: Connects the amplifier's Position I: Schaltet die Endstufe ein. Posición I: conecta la alimentación current feed. -
Página 6: Ubicación Y Función De Los Controles
Controls: Lokalisierung der Ubicación y función Where and What? Funktionen de los Controles 2.2 Rear Panel 2.2 Rückplatte 2.2 Panel Trasero See Figure Siehe Fig. Ver Figura ® ® Signal Input: Female Neutrik Eingangssignal: Neutrik -XLR Entrada de señal: conectores Neutrik XLR hembra para la entrada Connectors for the amplifier’s signal Buchsen für den Signaleingang der... -
Página 7: Instalación Y Operación
Installation and Anschluss und Instalación y Operation Inbetriebnahme operación 3.1 Connections 3.1 Anschlüsse 3.1 Conexionado The Power switch must always be on Bevor Sie diese Einheit an eine Para proceder al conexionado de la uni- the “Off” position before plugging the SHUKO-Steckdose anschließen, schal- dad situe siempre el interruptor de ali- amp to a properly earthed mains sock-... -
Página 8: Dual Channel Mode
Installation and Anschluss und Instalación y Operation Inbetriebnahme operación The amplifier can operate on two differ- Es gibt zwei Funktionsmöglichkeiten Existen tres modos de funcionamiento ent configurations: DUAL, or BRIDGE. dieser Endstufe: Dual, und Bridge. Die posibles del amplificador: Dual, The connections for the two modes are Anschlüsse sind in den zwei Fällen Paralelo, o Puente. - Página 9 Dual Channel 2 Ch models Bridge Mode 2 Ch models...
- Página 10 Dual Channel 4 Channel models Bridge Mode 4 Channel models Bridge + Dual Mode 3 Channels Mode...
-
Página 11: Configuration
Installation and Instalación y Operation operación 3.2 Configuration 3.2 Configuración By means of the display, user can con- Desde la pantalla el usuario puede figure amplifier and DSP parameters configurar los parámetros del amplifi- and moritoring them. cador y del DSP y monitorizar estos. There are six different screens as fol- Hay seis pantallas diferentes que son lows:... - Página 12 Installation and Instalación y Operation operación 4. User Input Setting Screen: User ID Input Label: shows the name assigned by the user User EQ Access Button (see 4.1) In: Input Level VUmeter GAIN IN: to change the input gain DELAY: to change the input delay (ms) MIUTE: to mute input Rev: to change input polarity 4.1.
- Página 13 Installation and Instalación y Operation operación 5.2 AMPLIFER Tab: GAIN: to select amp gain (26dB to 44dB) BRIDGE: to configure a pair of channels in Bridge mode 0dB FS IN (optional): to adjust the input digital reference 5.3 PASSWORD Tab: GENERAL PASSWORD: to enable/disable the general password. When enable you have to introduce a 4-digits password and con- firm it.
-
Página 14: Protection Systems
™ ICL2 - Limitador de clip inteligente ™ ™ The RAM Audio ICL2 is an anticlip sys- El ICL2 es un sistema anticlip que evita tem to avoid speaker failure and provide daño en el altavoz y provee de una cali- ™... -
Página 15: Technical Specifications
Technical Technische Especificaciones Specifications Spezifikationen técnicas 4.2 Data 4.2 Technische Daten 4.2 Datos técnicos Technical Specifications Pi2-3K Pi2-5K Pi4-6K Pi4-10K Number of channels Total output power 3000 W 5000 W 6000 W 10000 W Output Power* (All ch.’s driven/single channel) 2 ohms 2x 1450 W 2x 2500 W... - Página 16 Manufactured in the EEC by C.E. Studio-2 s.l. Pol. Ind. La Figuera - C/Rosa de Luxemburgo, nº 34 46970 Alaquas - Valencia - SPAIN Phone: +34 96 127 30 54 Fax: +34 96 127 30 56 http://www.ramaudio.com e-mail: support@ramaudio.com...