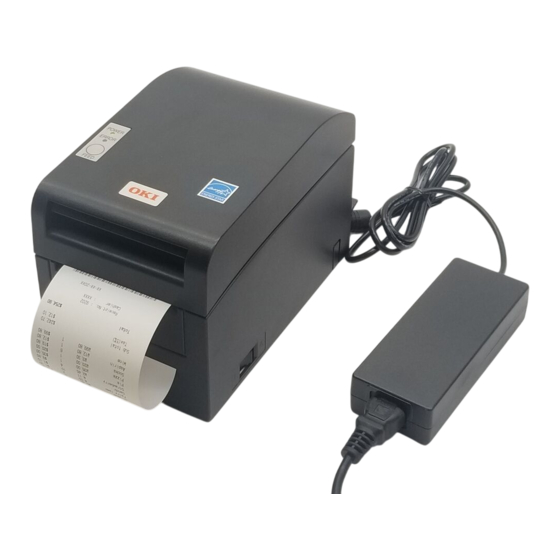
Oki PT390 Manual De Instrucciones
Idiomas disponibles
Idiomas disponibles
Enlaces rápidos
User's Guide, Printer Software
The User's Guide is provided as an Adobe® Acrobat® PDF file on the CD-ROM shipped with your printer.
The followings show the brief procedure to use the printer. For detailed procedures and the notes of usage, see User's Guide
[*A] in CD-ROM before using PT390 printer. [*A] \Manuals\PT390_UsersGuide.pdf
For information on how to install the printer driver and utility software, see Installation Guide [*B] in CD-ROM. [*B]
\Manuals\PT390_InstallGuide1_en.pdf
If you do not have Adobe Reader, it is available to download from the Adobe web site, www.adobe.com.
Note :
If there is some virus protection software on PC,
The setup may not be completed with LAN interface model because the printer cannot be detected .
In this case, close the setup first .
After that, add "Quick Setup", "AdminManager" and "PR-PortManager" to the exception program in Firewall
of Virus protection software or disable Firewall temporarily, and then set up once again .
Unpacking the printer
Please confirm that the following things are enclosed
• Printer (1)
• Safety sheet (1)
Setting up
Open the carton and pull out the printer and its components.
1 .
C on n e c tin g I n te r fa c e C a b l e
Open the connector cover at the rear of the printer with lifting it , and connect the interface cable to its rear connector socket.
Close the cover after connecting the cable.
Note 1: If cables are arranged so that they extend from the rear or from the rear on the right side, remove the notch of the
connector cover or the cover with nippers or a similar tool. Otherwise, the cables may be damaged and it may cause
a failure.
For a unit with DUAL interface
Notch
Note 2: Refer to '3. the preparation' of the User's Guide , except the Dual interface model.
2 .
C on n e c tin g th e d r a w e r k i ck c a b l e
Open the connector cover at the rear of the printer by lifting it, and
connect the drawer kick cable to its rear connector socket. Close the
cover after connecting the cable.
Note 1: If the cable is arranged so that it extends from the rear,
remove the notch of the connector cover with nippers or a
similar tool. Otherwise, the cable may be damaged and it may
cause a failure.
Note 2: The drawer kick cable must not be used for a purpose other
than for control of the drawer.
PT390 Instruction sheet
• Thermal Paper (1)
• AC adaptor (1)
Connector
Cover notch
USB Interface Cable
Type-B
* Connect the printer to a PC
with this connector.
Serial interface cable
* Secure the connector with
screws after making the
connection.
• CD (1)
• Power cable (1)
Interface Connector
(USB Interface Type-B)
* Connect the printer to a PC
with this connector.
Drawer kick connector
Connector cover
Notch
• Instruction sheet (This paper) (1)
Power connector
Interface connector
(Serial interface)

Manuales relacionados para Oki PT390


Resumen de contenidos para Oki PT390
-
Página 9: Instalación
Hoja de Instrucciones de PT390 Guía del Usuario, software de la impresora La Guía del Usuario es un archivo de Adobe® Acrobat® (formato PDF) que se encuentra en el CD que vino con su impresora. A continuación se dan una instrucciones breves para poder utilizar la impresora. Vea la Guía del Usuario [*A] que vino con el CD-ROM para mayor información sobre cómo utilizar la impresora. - Página 10 Conexión del adaptador de CA (1) Conecte el adaptador de CA al cable de alimentación. Nota 1: Para conectar o desconectar el adaptador de CA, apague los interruptores de energía de la impresora y de todos los dispositivos conectados a la impresora. Además, debe desconectar el enchufe del cable de alimentación de energía del adaptador de CA del tomacorriente eléctrico.
- Página 11 Encendido de la impresora Después de conectar el adaptador de CA, encienda el interruptor de energía en el costado de la impresora. El indicador encendido del panel de control se enciende. Panel de control Interruptor de encendido Instalación del papel en rollo (1) Sostenga la palanca de liberación entre el pulgar y otros dedos.
- Página 12 (3) Desprenda la parte de papel que está pegada al rollo de papel. Nota: Ya que la parte del papel que tiene pegamento no debe utilizarse para imprimir, retire parte del papel (unos 40 cm) de papel en el inicio del rollo para que no quede papel con pegamento. Cualquier tipo de adhesivo o residuos de pegamento podría adherirse al cabezal térmico y producir problemas, como partes en blanco en la impresión.