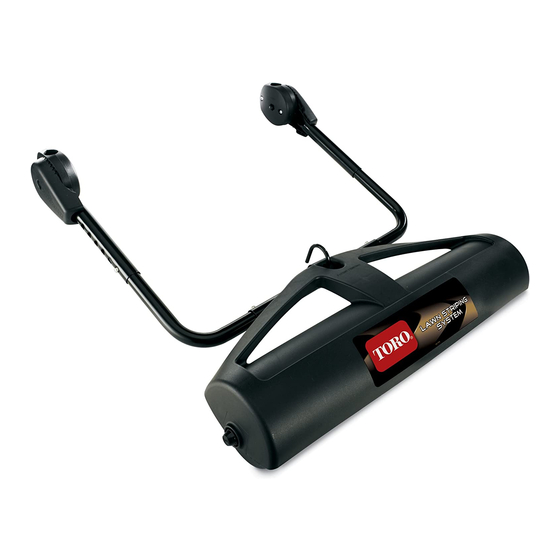
Toro 20601 Manual Del Operador
Tabla de contenido
Idiomas disponibles
Idiomas disponibles
Enlaces rápidos
Lawn Striper Kit
Model No. 20601
Safety
• Read all of the instructions in this manual prior to
using the lawn striper attachment.
• The lawn striper attaches to and follows behind your
lawn mower during normal grass-cutting operations,
and should not affect the operating characteristics of
your mower. Carefully follow all of your lawn mower
manufacturer's operating instructions and warnings
when using the lawn striper attachment.
• The lawn striper attachment should not
interfere with normal mower operations, such
as cutting/mulching/bagging. If there is any
interference immediately shut off mower, then
inspect the lawn striper attachment installation, make
any adjustments needed to correct the problem, and
reassess operations to verify that the interference has
been resolved.
• The lawn striper attachment is designed to work with
most walk-behind, self-propelled, and push-type
lawn mowers. Do not use with any other type of
mower.
© 2011—The Toro® Company
8111 Lyndale Avenue South
Bloomington, MN 55420
• The lawn striper attachment must be properly
installed, attached, and adjusted in order to work
along with your particular lawn mower.
• If the lawn striper attachment should interfere
with your ability to mow around obstructions,
walkways, or other tightly constrained areas, shut off
the mower, remove the roller assembly, and then
mow around the obstructed area without the roller
assembly attached.
CAUTION
Do not assemble, disassemble, attach, inspect, or
adjust the lawn striper attachment while the mower
is running.
Shut off the mower before performing any of these
actions.
CAUTION
Do not place clamp system over any type of existing
wires/cables that may be present on lawn mower
handlebars.
Register at www.Toro.com.
Form No. 3368-615 Rev A
Operator Manual
Original Instructions (EN)
Printed in the USA.
All Rights Reserved
Tabla de contenido
Solución de problemas

Manuales relacionados para Toro 20601


Resumen de contenidos para Toro 20601
-
Página 6: Kit De Rayado Del Césped
• Si el rodillo de césped interfiere con su capacidad • El rodillo de césped de Toro se acopla a su para segar alrededor de obstáculos, caminos, u otros cortacésped y es arrastrado detrás durante la siega lugares estrechos, pare el motor del cortacésped,... -
Página 7: Instalación
Instalación Instalación del mecanismo de apriete Piezas necesarias en este paso: Tornillo Phillips Tornillo de cabeza redonda Pieza interior de la abrazadera Tubo vertical G015781 Ajustador de ángulo Figura 2 Procedimiento 1. Tercio inferior del manillar del cortacésped 1. Coloque la pieza interior de la abrazadera en el interior del tercio inferior del manillar (Figura 1). -
Página 8: Montaje Del Tubo De Enganche Y Los Tubos De Esquina
Montaje del tubo de enganche Ajuste del ángulo y de la altura y los tubos de esquina No se necesitan piezas Piezas necesarias en este paso: Procedimiento Tubo de esquina 1. Ajuste el conjunto para que esté lo más cerca posible Tubo de enganche del cortacésped, desplazando las abrazaderas hacia arriba o hacia abajo en el manillar sin que los tubos... -
Página 9: Llenado Y Conexión Del Rodillo
Llenado y conexión del rodillo Piezas necesarias en este paso: Tapón del rodillo Conjunto del rodillo Procedimiento 1. Llene el rodillo con aproximadamente 16–20 libras G015777 (7,2–9 kg) de arena. Figura 6 1. Tubo de enganche 2. Conjunto del rodillo 4. -
Página 10: Solución De Problemas
Solución de problemas Problema Posible causa Acción correctora El rodillo no gira. 1. Hay residuos que obstruyen el rodillo. 1. Pare el motor del cortacésped y compruebe la presencia de residuos (corteza, ramitas, piedras, etc.); retire cualquier residuo del rodillo. 2.