Tripp-Lite DWT1327S Manual Del Propietário
Tabla de contenido
Idiomas disponibles
Idiomas disponibles
Enlaces rápidos
CAUTION: DO NOT EXCEED MAXIMUM LISTED WEIGHT CAPACITY. SERIOUS INJURY OR
PROPERTY DAMAGE MAY OCCUR!
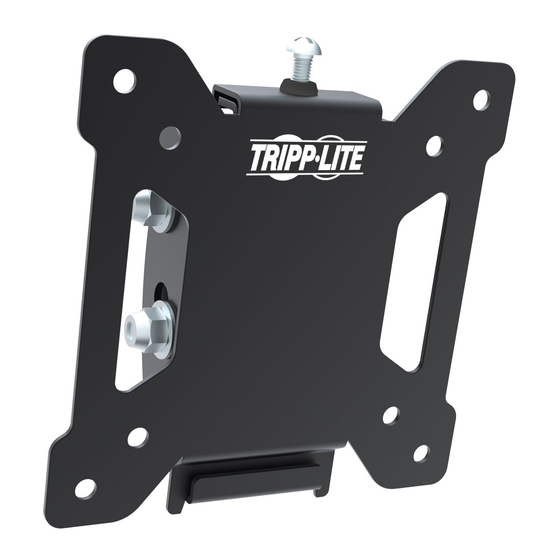
75x75/100x100
1111 W. 35th Street, Chicago, IL 60609 USA • www.tripplite.com/support
14-03-251-933335.indb 1
Owner's Manual
Tilt Flat Screen
Wall Mount
MODEL: DWT1327S
Copyright © 2014 Tripp Lite. All rights reserved.
27"
MAX
1
40kg
(88lbs)
MAX
4/14/2014 1:59:26 PM
Tabla de contenido

Manuales relacionados para Tripp-Lite DWT1327S


Resumen de contenidos para Tripp-Lite DWT1327S
-
Página 10: Garantía Y Registro De Garantía
NOTA: Lea completo el manual de instrucciones antes de iniciar la instalación y ensamble. ADVERTENCIA • No inicie la instalación hasta que haya leído y entendido las instrucciones y advertencias contenidas en este manual. Si tiene algunas preguntas con respecto a alguna de las instrucciones o advertencias, visite por favor www.tripplite.com/support. -
Página 11: Lista De Comprobación De Componentes
IMPORTANTE: Antes de instalar, ceciórese de haber recibido todas las partes de acuerdo a la lista de comprobación de componentes. Si cualquier parte está faltante o dañada, visite www.tripplite.com/support para solicitar servicio. DWT1327S Paquete M M4X14 (x4) M5X14 (x4) Arandela D5 (x4) - Página 12 1. Desensamble la Placa VESA Use un desatornillador para aflojar el tornillo superior a fin de separar la placa VESA del soporte de pared. 2a. Instalación en Pared con Entramado de Madera Encuentre y marque la posición exacta de los orificios de instalación Tornillo de Anclaje 5 mm - 8 mm...
- Página 13 2b. Instalación sobre Ladrillos Sólidos o Bloques de Concreto Marque la posición exacta de los orificios de instalación Ancla para Concreto Barrene los Tornillo de Anclaje orificios piloto 5 mm - 8 mm Atornille el soporte de pared en la pared Mantenga un espacio de 5 mm - 8 mm entre la placa de pared y el tornillo de...
-
Página 14: Instale La Placa De Pared
3. Instale la Placa de Pared (Para mayor claridad, no se muestra la cubierta exterior). Alinee el orificio superior de la placa de pared con el tornillo de anclaje sujeto. Baje la placa de pared hasta que la cabeza del tornillo de anclaje asiente en el área superior del orificio de instalación. - Página 15 4. Instale la Placa VESA Parte superior de la pantalla Arandela D5 M4X14 M5X14 Arandela D5 M4X14 M5X14 Sujete firmemente la placa VESA a la pantalla usando los accesorios suministrados. No apriete excesivamente los tornillos. 14-03-251-933335.indb 15 4/14/2014 1:59:39 PM...
-
Página 16: Cuelgue La Pantalla En La Placa De Pared
5. Cuelgue la pantalla en la placa de pared Pared Usando un ayudante o equipo de elevación mecánico, cuelgue la pantalla con la placa VESA acoplada sobre la parte superior d la placa de pared instalada. Apriete el tornillo superior en la placa VESA para asegurar la unidad.