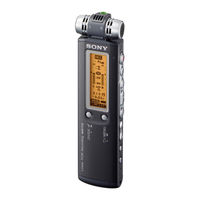
Tabla de contenido
Checking the Contents of the Package
4
Step 1: Preparing a Power Source
5
Inserting the Batteries
5
Step 2: Setting the Clock
6
Step 3: Setting the Language to be Used in the Display Window
7
Turning the IC Recorder on or off
8
Utilizing Your Computer
11
Using the Supplied Digital Voice Editor Software
11
Installing the Software
12
Additional Information
14
Vérification du Contenu de L'emballage
17
Etape 1 : Préparation D'une Source D'alimentation
18
Etape 2 : Réglage de L'horloge
19
Etape 3 : Réglage de la Langue à Utiliser Dans la Fenêtre D'affichage
20
Mise Sous/Hors Tension de L'enregistreur IC
21
Enregistrement de Messages
22
Utilisation de L'ordinateur
24
Utilisation du Logiciel Digital Voice Editor Fourni
24
Configuration Système Requise
24
Installation du Logiciel
25
Informations Complémentaires
27
De Inhoud Van de Verpakking Controleren
43
Stap 1: Een Stroombron Voorbereiden
44
De Batterijen Plaatsen
44
Stap 2: Klok Instellen
45
Stap 3: de Gebruikte Taal in Het Display Instellen
46
De Stroom Uitschakelen
47
De IC-Recorder In- of Uitschakelen
47
De Bijgeleverde Digital Voice Editor- Software Gebruiken
50
De Software Installeren
51
Aanvullende Informatie
53