Gabarron ADS Serie Instrucciones De Instalacion Y Uso
Acumuladores estáticos
Idiomas disponibles
Idiomas disponibles
Tabla de contenido
INSTRUCCIONES DE INSTALACIÓN Y USO
INSTALLATION INSTRUCTIONS AND USER GUIDE
NSTRUÇÕES DE INSTALAÇÃO E USO
Lea estas instrucciones atentamente antes de instalar o utilizar el aparato por primera vez.
Please read these instructions carefully before installing or using this appliance for the first time.
Leia estas instruções atentamente antes de ligar o aparelho a primeira vez.
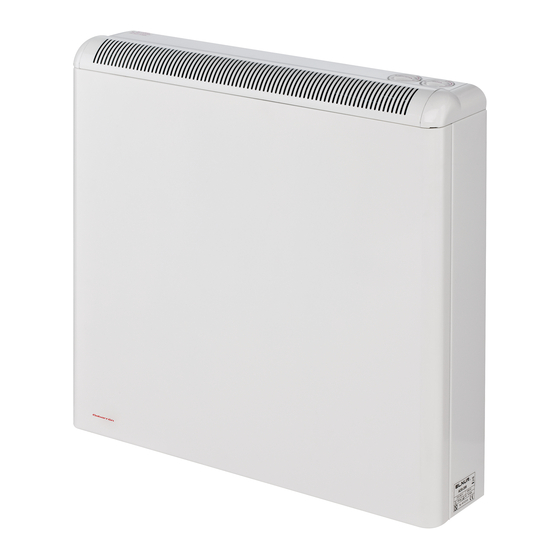
ACUMULADORES ESTÁTICOS
NIGHT STORAGE HEATERS
ADS 84
ADS 124
ADS 168
ADS 208
ADS 2412
ADS 2812
ADS 3216
ADS
ADS 84/14
ADS 124/14
ADS 168/14
ADS 208/14
ADS 2412/14
ADS 2812/14
ADS 3216/14
Tabla de contenido

Resumen de contenidos para Gabarron ADS Serie
- Página 1 INSTRUCCIONES DE INSTALACIÓN Y USO INSTALLATION INSTRUCTIONS AND USER GUIDE NSTRUÇÕES DE INSTALAÇÃO E USO ACUMULADORES ESTÁTICOS NIGHT STORAGE HEATERS ADS 84 ADS 84/14 ADS 124 ADS 124/14 ADS 168 ADS 168/14 ADS 208 ADS 208/14 ADS 2412 ADS 2412/14 ADS 2812 ADS 2812/14 ADS 3216...
- Página 2 1. INFORMACIÓN IMPORTANTE • La garantía del acumulador no cubrirá cualquier daño causado por la no observancia de alguna de estas instrucciones. • Este manual debe ser conservado y dado a cualquier nuevo usuario. Las instrucciones deben conservarse para futuras referencias.
- Página 3 GENERALIDADES Estos acumuladores de calor, están diseñados para el aprovechamiento de tarifas eléctricas reducidas, en las viviendas y locales que las tengan contratadas. Estos aparatos deben se conectados a 220-240 V~. Las características de estos modelos son las reflejadas en el siguiente cuadro: Tiempo Potencia Acumulación...
- Página 4 3.- Retire el panel frontal quitando los dos tornillos de su parte inferior (Fig. 2). fig 2 4.- Coloque el acumulador en la zona donde va a ser instalado y marque con un lápiz los puntos de fijación a la pared. El propio acumulador le servirá...
-
Página 5: Modo De Empleo
10.- Sitúe de nuevo las resistencias en su posición inicial, de forma vertical. Coloque el piso inferior de ladrillos con la cara lisa hacia el exterior y sobre las lengüetas de las resistencias. Acabe de montar los ladrillos, colocando el piso superior. 11.- Vuelva a montar el panel de cierre interior, solapando la parte inferior (Fig. -
Página 14: Esquema Eléctrico
ESQUEMA ELÉCTRICO Resistencia Auxiliar de carga Termostato de carga Dual sensor Limitador térmico Termostato de seguridad Conductor de protección (tierra) Fase Neutro WIRING Accelerating Resistance “Dual sensor” control thermostat Thermal limiter Safety Earth Live Neutral DIAGRAMA ELÉTRICO R1, R2, R3, R4 Resistencia Auxiliar de carga Termostato de carga Dual sensor Resistencias principales... - Página 15 NOTAS / NOTES...
- Página 16 ELNUR S.A. Travesía de Villa Esther, 11 28110 Algete - Madrid Tfno. de Atención al Cliente: +34 91 628 1440 www.elnur.es www.elnur-global.com www.elnur.co.uk Como parte de la política de mejora continua Elnur s.a. se reserva el derecho a realizar modificaciones técnicas sin previo aviso. As a part of the policy of continuous product improvement Elnur s.a.