Grohe SOMERSET 19 320 Manual De Instrucciones
Enlaces rápidos
SOMERSET
DESIGN + ENGINEERING
GROHE GERMANY
96.202.031/ÄM 228507/09.13
www.grohe.com
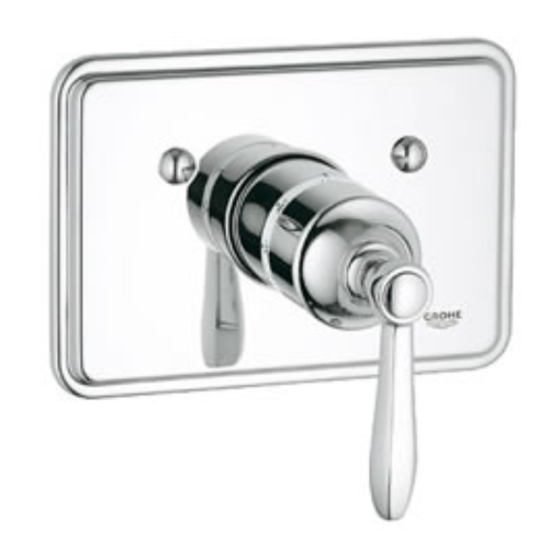
19 320
.....1
.....6
D
NL
.....2
.....7
GB
S
.....3
DK .....8
F
.....4
.....9
E
N
.....5
...10
I
FIN
.....11
P
.....16
PL
.....12
.....17
TR
UAE
.....13
.....18
GR
SK
.....14
.....19
CZ
SLO
.....15
.....20
H
HR
BG
.....21
.....26
CN
.....22
UA
EST
.....27
.....23
LV
RUS
.....28
.....24
LT
.....25
RO

Manuales relacionados para Grohe SOMERSET 19 320


Resumen de contenidos para Grohe SOMERSET 19 320
- Página 1 SOMERSET DESIGN + ENGINEERING GROHE GERMANY 96.202.031/ÄM 228507/09.13 www.grohe.com 19 320 ..1 ..6 ..11 ..16 ..21 ..26 ..2 ..7 ..12 ..17 ..22 ..27 ..3 DK ..8 ..13 ..18 ..23 ..28 ..4 ..9 ..14 ..19 ..24 ..5 ...10 ..15 ..20 ..25...
- Página 2 Please pass these instructions on to the end user of the fitting! S.v.p remettre cette instruction à l'utilisateur de la robinetterie! Entregue estas instrucciones al usario final de la grifería!
-
Página 5: Instalación
English Installation Mounting escutcheon, see Figs. [4] and [5]. 1. Push sleeve (J) with the mark (J1) upward onto the mixer 1. Remove the two screws (A1) and the adaptor (B) from the shank, make sure that the marking point (G1) snaps into the fitting template (A), then remove the template, see Fig. - Página 6 100 °F (38 °C)
- Página 7 English Adjustment Reversed union (hot on right - cold on left). Back-to-back installation is possible by reversing the cartridge- Temperature setting, see Figs. [6] to [9]. holder, see technical product information for the concealed • Before the mixer is put into service, if the mixed water thermostatic valve.
- Página 8 34mm...
-
Página 9: Mantenimiento
English Maintenance 10. Remove screws (Q2), screw (Q1) and remove unit (Q), see Fig. [15]. Inspect and clean all parts, replace if necessary and grease 11. Unscrew nut (R) with 34mm wrench, see Fig. [16]. with special valve grease. 12. If necessary, lever out thermostatic compact cartridge (S) Thermostatic compact cartridge via recess (S1). - Página 11 English Check valves - If the O-ring (U1) is not on the valve cover (T) re-install and make sure the surface of the valve cover and the O- 1. Same procedure as for thermostatic compact cartridge, ring (U1) are both clean, see Fig. [17]. steps 1-5.
- Página 12 +49 571 3989 333 +372 6616354 +372 6616354 +420 277 004 190 impressum@grohe.de grohe@grohe.ee grohe@grohe.ee grohe-cz@grohe.com +43 1 68060 +33 1 49972900 +1 800 80 6570 +66 2610 3685 info-at@grohe.com marketing-fr@grohe.com info-singapore@grohe.com info-singapore@grohe.com Argent Sydney +358 10 8201100 +47 22 072070...