Delta 540 Guia De Inicio Rapido
Enlaces rápidos
U P
®
ASME A112.18.1 / CSA B125.1
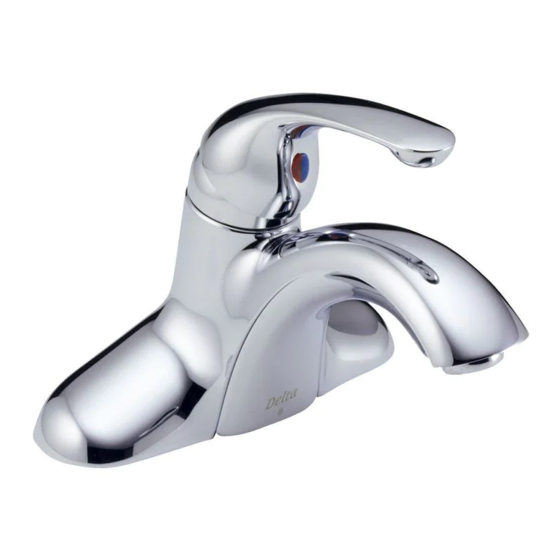
Models/Modelos/Modèles
540, 541, 542, 544
Series/Series/Seria
Write purchased model number here.
Escriba aquí el número del modelo comprado.
Inscrivez le numéro de modèle ici.
for easy installation of your Delta
faucet you will need:
• To READ ALL the instructions completely
before beginning.
• To READ ALL warnings, care, and maintenance
information.
• To purchase the correct water supply hook-up.
Para instalación fácil de su llave Delta
usted necesitará:
• LEER ToDAS las instrucciones completamente
antes de empezar.
• LEER ToDoS los avisos, cuidados, e
información de mantenimiento.
• Comprar las conexiones correctas para el
suministro de agua.
Pour installer votre robinet Delta
facilement, vous devez:
• LIRE ToUTES les instructions avant de débuter;
• LIRE ToUS les avertissements ainsi que toutes
les instructions de nettoyage et d'entretien;
• Acheter le bon nécessaire de raccordement.
C
®
you may need/Usted puede necesitar/
Articles dont vous pouvez avoir besoin:
T E FLO N
US. Pat. 4,043,359, 3,786,995, 4,562,960, 4,593,430, 4,089,347, 4,218,785, 4,765,365, 4,696,322
SINGLE hANDLE LAvAToRy
CENTERSET fAUCETS
LLAvES MoNoCoNTRoL
DE MoNTURA DE CENTRo
PARA LAvAMANoS
RoBINETS à ENTRAXE
CoURT à UNE PoIGNéE
T E FLO N
1
5/9/08 Rev. A

Manuales relacionados para Delta 540


Resumen de contenidos para Delta 540
- Página 1 • To READ ALL warnings, care, and maintenance information. • To purchase the correct water supply hook-up. Para instalación fácil de su llave Delta usted necesitará: • LEER ToDAS las instrucciones completamente antes de empezar. • LEER ToDoS los avisos, cuidados, e información de mantenimiento.
- Página 2 1/2" (12.70mm) IPS 1/2 po (12.70mm) IPS Metal Pop-Up Position Faucet (1) and Gasket (2) on Sink: Secure with washers (3) and nuts (4). option: If sink Remove stopper (1) and flange (2). is uneven, use silicone under the gasket. Screw nut (1) all the way down.
- Página 3 Step 3f Tighten nut/washer/gasket (1), clean off excess silicone (2). DO NOT TWIST. Remove aerator (1) and turn faucet handle (2) all the way on. Turn on hot and cold water supplies (3) Step 3g Remove pivot nut (1). Install horizontal rod (2) and stopper (3) as removable and flush water lines for one minute.
-
Página 4: Mantenimiento
Maintenance Maintenance If faucet leaks from under handle-Remove handle and tighten adjusting ring (1). Important: Never tighten cap assembly (2) to stop If faucet leaks from under handle: a leak, always tighten adjusting ring (1). Always shut off water Remove handle and ensure cap (2) is tight. supplies and partially unscrew adjusting ring before attempting to remove cap assembly. - Página 5 540, 541, 542, 544 Series/Series/Seria RP21469▲ Handle w/Button & Set Screw ▲Specify Finish/Especifíque el Acabado/Précisez le Fini Manija con Botón y Tornillo de Ajuste Manette avec Bouton et Vis de Calage RP28096 RP28185 Red/Blue Button Clear Blade RP17446, RP17446PB Botón–Rojo/Azul...
-
Página 6: Cleaning And Care
IS THE EXCLUSIVE WARRANTY BY DELTA FAUCET COMPANY, WHICH DOES NOT MAKE ANY OTHER WARRANTY OF ANY KIND, INCLUDING THE IMPLIED WARRANTY Delta will replace, FREE OF CHARGE, during the warranty period, any part or finish that proves OF MERCHANTABILITY.