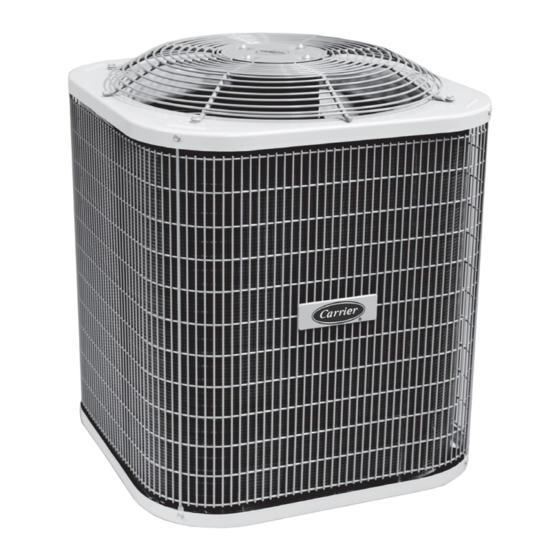
Carrier 38EYX Manual Del Usuario
Tabla de contenido
Idiomas disponibles
Idiomas disponibles
Enlaces rápidos
Visit www.carrier.com
Installation and Start-Up Instructions
NOTE: Read the entire instruction manual before starting the
installation.
This symbol → indicates a change since the last issue.
SAFETY CONSIDERATIONS
Improper installation, adjustment, alteration, service, maintenance,
or use can cause explosion, fire, electrical shock, or other
conditions which may cause death, personal injury, or property
damage. Consult a qualified installer, service agency, or your
distributor or branch for information or assistance. The qualified
installer or agency must use factory-authorized kits or accessories
when modifying this product. Refer to the individual instructions
packaged with the kits or accessories when installing.
Follow all safety codes. Wear safety glasses, protective clothing,
and work gloves. Use quenching cloth for brazing operations.
Have fire extinguisher available. Read these instructions thor-
oughly and follow all warnings or cautions included in literature
and attached to the unit. Consult local building codes and National
Electrical Code (NEC) for special requirements.
Recognize safety information. This is the safety-alert symbol
When you see this symbol on the unit and in instructions or
manuals, be alert to the potential for personal injury.
Understand the signal words DANGER, WARNING, and CAU-
TION. These words are used with the safety-alert symbol. DAN-
GER identifies the most serious hazards which will result in severe
personal injury or death. WARNING signifies hazards which
could result in personal injury or death. CAUTION is used to
identify unsafe practices which would result in minor personal
injury or product and property damage. NOTE is used to highlight
suggestions which will result in enhanced installation, reliability,
or operation.
Before installing, modifying, or servicing system, main elec-
trical disconnect switch must be in the OFF position. There
may be more than 1 disconnect switch. Lock out and tag
switch with a suitable warning label. Electrical shock can
cause personal injury or death.
Puron® (R-410A) systems operate at higher pressures than
standard R-22 systems. Be certain that service equipment is
rated for Puron® to prevent unit damage. Some R-22 service
equipment may not be acceptable. Check with your distribu-
tor.
INSTALLATION RECOMMENDATIONS
NOTE: In some cases noise in the living area has been traced to
gas pulsations from improper installation of equipment.
1. Locate unit away from windows, patios, decks, etc. where unit
operation sound may disturb customer.
2. Ensure that vapor and liquid tube diameters are appropriate to
capacity of unit.
Manufacturer reserves the right to discontinue, or change at any time, specifications or designs without notice and without incurring obligations.
Book 1 4
PC 101
Catalog No. 003-80011
Tab 5a 5a
.
3. Run refrigerant tubes as directly as possible by avoiding
unnecessary turns and bends.
4. Leave some slack between structure and unit to absorb
vibration.
5. When passing refrigerant tubes through the wall, seal opening
with RTV or other pliable silicon-based caulk. (See Fig. 2.)
6. Avoid direct tubing contact with water pipes, duct work, floor
joists, wall studs, floors, and walls.
7. Do not suspend refrigerant tubing from joists and studs with a
rigid wire or strap which comes in direct contact with tubing.
(See Fig. 2.)
8. Ensure that tubing insulation is pliable and completely sur-
rounds vapor tube.
9. When necessary, use hanger straps which are 1 in. wide and
conform to shape of tubing insulation. (See Fig. 2.)
10. Isolate hanger straps from insulation by using metal sleeves
bent to conform to shape of insulation.
When outdoor unit is connected to factory-approved indoor unit,
outdoor unit contains system refrigerant charge for operation with
indoor unit of same size when connected by 7.6 m of field-supplied
or factory accessory tubing. Add (or subtract) 56 g of 9.5 mm
liquid line for lengths greater (or less) than 7.6 m. For proper unit
operation, check refrigerant charge using charging information
located on control box cover and/or in the Check Charge section of
this instruction.
Printed in U.S.A.
Form 38EYX-C1SI
38EYX—50 HZ
Heat Pump with
Puron® Refrigerant
Fig. 1—Model 38EYX
Pg 1
11-03
A03171
Replaces: New
Tabla de contenido

Manuales relacionados para Carrier 38EYX


Resumen de contenidos para Carrier 38EYX
-
Página 11: Qadvertencia
38EYX-50HZ Bomba de calor con refrigerante Puron ® Visite la web www.carrier.com Instrucciones de instalación y de puesta en marcha NOTA: Leer el manual de instrucciones en su totalidad antes de poner en Vea la Figura 1 en la versión en inglés de este marcha la instalación. - Página 12 Localizar en el panel angular de la unidad la placa de identificación Fase 7 - Comprobar el termostato de deshelado de la misma que contiene las informaciones necesarias para instalar Comprobar el termostato de deshelado para asegurarse de que esté correctamente la unidad.
-
Página 13: Acoplamiento De Los Tubos Del Líquido De Condensación
Las unidades exteriores pueden ser conectadas a la sección interior utili- COMPROBACIÓN DE PÉRDIDAS zando los tubos accesorios ó los tubos de refrigerante del comercio de Efectuar una prueba de estanqueidad en todas las juntas de las tube- tamaño adecuado. En los tubos de más de 15 m. de largo, podría produ- rías interiores, exteriores y de refrigerante. - Página 14 Utilizar el cable aislado (mínimo 35°C) de color escala AWG n° 18. ATENCIÓN Si el termostato está situado a más de 100 pies (30 m.) de la unidad, Para evitar riesgos de lesiones o la muerte, no conectar la uni- según resulta de los cables de tensión, utilizar el cable de color esca- dad al suministro eléctrico si la tapa del tablero de bornes del la AWG n°...
-
Página 15: Secuencia De Funcionamiento
Seguir las Instrucciones para poner en marcha el sistema. Si la temperatura siguiera disminuyendo, el circuito R-W2 se conectaría a través del termostato ambiente. El circuito R-W2 pone bajo tensión el 1. Abrir completamente las válvulas de servicio del líquido y del agua. calentador adicional (si se utiliza). -
Página 16: Carga De La Unidad
dejando que la escarcha se acumule sobre la batería exterior. carga y pesar la carga correcta de refrigerante. 4. Después de pocos minutos en modo de calefacción, la temperatu- NOTA: Cuando es necesario añadir refrigerante durante la tempo- ra de la línea de líquido tiene que bajar por debajo del punto de cie- rada de calefacción, hay que pesar la carga conformemente a lo indi- rre del termostato de deshelado (aproximadamente 30°F/-1°C). - Página 17 · Reemplazar siempre el deshidratador del filtro después de la apertura del sistema para las operaciones de mantenimiento. · No exponer el Puron® al aire. · No utilizar bobinas para tubos capilares. · Respetar todas las advertencias y leer los textos en negrita. Vea la Tabla 4 en la versión en inglés de este documento Vea la Tabla 5 en la versión en inglés de este...