Aegis Secure Key 3NXC Guia De Inicio Rapido
Tabla de contenido
Idiomas disponibles
Idiomas disponibles
Enlaces rápidos
Secure Key
Aegis
Quick Start Guide
First-Time Use / Admin Mode Setup
NOTE: if you are using the Aegis Configurator to set up your
Aegis Secure Key 3NX, First ensure that the device to be
CONFIGURABLE
configured has the "configurable" logo on the back of the
outer sleeve. Also, DO NOT perform the following Manual Admin
and USER PIN SETUP steps below; The Aegis Configurator will only
recognize devices in their factory "out of box" state or devices that
have been completely reset.
Each Aegis Secure Key is shipped without a preset Personal
Identification Number (PIN.) To prepare the Key for use, the user must
first establish an Admin PIN that is between 7 and 16 digits in length.
PINs cannot contain all consecutive numbers or all the same numbers
(e.g. 123456789, 987654321 or 11111111, 22222222, etc.This Admin PIN
is used to set the Secure Key's various Admin features and also serves
as the first of two User PINS for the Secure Key's standard operation.
To Set Up the Admin PIN:
1. Wake up the Secure Key by pressing
will glow solidly, indicating no Admin PIN has been established.)
2. Press
+ 9 simultaneously.
LED will blink.)
3. Enter the PIN to be used as your Admin code and press
accepted,
BLUE
blink 3 times by itself, then will continue blinking as the
glows solidly.)*
4. Quickly re-enter that same PIN once more and press
will turn off momentarily and
second until replaced by the
that the Admin PIN has been set and the Secure Key is in Admin
mode, ready to add another User PIN [see reverse] or for setting up
features.)
5. To exit the Admin mode, press
seconds and Secure Key will return to sleep mode.
6. If no additional users are to be added or Admin features set, Secure
Key setup is now complete and ready for use.
Battery Note
The Aegis Secure Key has an internal rechargeable battery with a smart-charging
circuit and will automatically charge whenever it's plugged into a powered USB port.
After initial Admin PIN setup, when plugged into a powered USB port while in standby
mode, the Red LED will pulse to indicate that it's charging and will glow solidly once
fully charged. Since the Secure Key ships with a partial charge, plug it into a powered
USB port for 60-80 minutes to give the battery a full charge before initial setup (RED
LED will still be blinking.)
(BLUE
LED will turn off momentarily and
GREEN
BLUE
(RED
3
.
(BLUE
and
GREEN
LED will glow solidly and
GREEN
LED will illuminate for one
LED glowing solidly, indicating
LED will glow solidly) or wait 30
NXC
LEDs
GREEN
IMPORTANT:
Do NOT press any
(If PIN is
buttons while the Se-
LED will
cure Key is plugged
BLUE
LED
into a USB port.
Doing so may cause
damage to the USB
port and Secure Key
(BLUE
LED
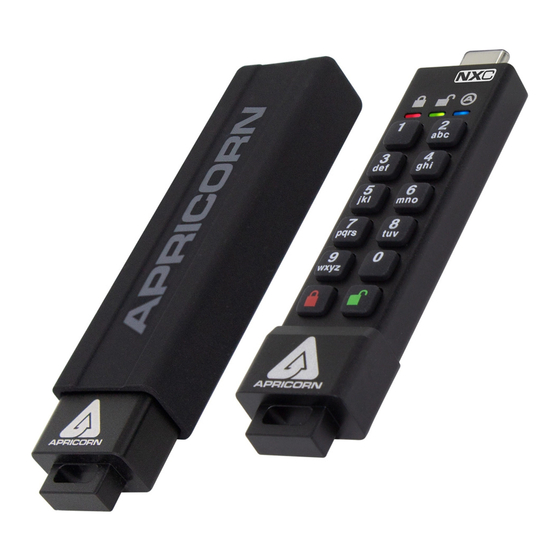
USB Connector.
1
2
abc
3
4
def
ghi
5
6
jkl
mno
7
8
pqrs
tuv
9
0
wxyz
Tabla de contenido

Manuales relacionados para Aegis Secure Key 3NXC

Resumen de contenidos para Aegis Secure Key 3NXC
- Página 3 Nota de la batería La llave segura de Aegis tiene una batería interna recargable con un circuito de carga inteligente y se cargará automáticamente cada vez que se conecte a un puerto USB con alimentación. Después de la configuración inicial del PIN de administración, cuando está...
-
Página 4: Agregando Un Nuevo Pin De Usuario
Formato para Mac OS La clave segura de Aegis viene preformateada en NTFS para Windows ® y está lista para su uso. Para Mac OS, primero debe formatear la unidad a un sistema de archivos compatible con Mac. Una vez que la unidad esté desbloqueada e insertada en un puerto USB, abra el Utilidad de disco de Mac desde Aplicaciones / Utilidades / Utilidades de disco y realice lo siguiente: 1.