American Standard Berwick TU430500 Instrucciones De Instalación
Tabla de contenido
Idiomas disponibles
Idiomas disponibles
Enlaces rápidos
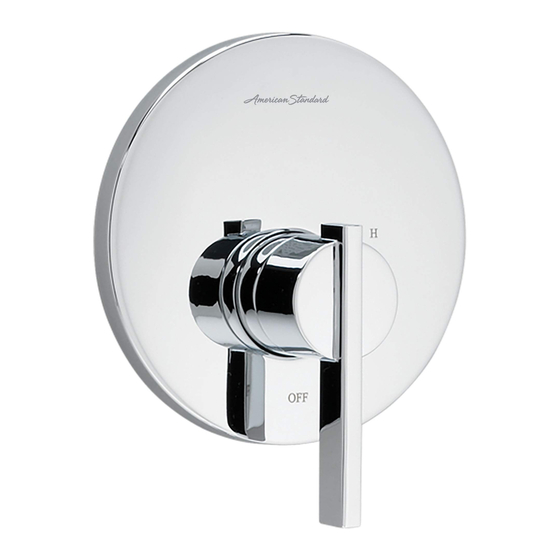
Berwick
®
Boulevard
®
Pressure Balancing
Bath and Shower Trim Kit
Thank you for selecting American Standard...
the benchmark of fine quality for over 140 years.
To ensure that your installation proceeds smoothly-please
read these instructions carefully before you begin.
For use with shower heads rated at 4.9 L/min (1.3 gpm) or higher.
RECOMMENDED TOOLS
Plumbers' Putty
or Caulking
ROUGHING-IN DIMENSIONS
• To assure proper positioning in relation to wall.
Note roughing-in dimensions.
FINISHED WALL
5" (127mm) REF.
74" (1880mm)
12" (305mm) REF.
FOR HEAD
CLEARANCE
18" (457mm)
OPTIONAL
1-1/2" REF.
(38mm)
TOP OF TUB RIM
BOTTOM OF TUB
Product names listed herein are trademarks of AS America, Inc.
© AS America, Inc. 2020
INSTALLATION
INSTRUCTIONS
Phillips Screwdriver
Teflon Tape
Flat Blade Screwdriver
1-5/8" TO 3-1/4"
(41 TO 83mm)
1/2" (12mm) NPT
2-1/4"
(57mm)
1-5/8" TO 3-1/4"
(41 TO 83mm)
6-3/4"
(173mm)
OPTIONAL TO FINISHED
FLOOR USUALLY
BETWEEN 65'' AND 80''
(1651 AND 2032mm)
7-1/4" DIA.
(184mm)
2-3/4" MAX. (69mm)
1-3/4" MIN. (45mm)
4-7/8" REF.
4"
(124mm)
(102mm)
1/2" (13mm)
COPPER
TU430500
TU430501
TU430502
TU431500
TU431501
TU431502
Adjustable Wrench
1
CARTRIDGE INSTALLATION
• Remove PLASTER GUARD (6)
(Keep it installed for thin wall Installation).
• Remove BONNET NUT (1) by unthreading it
Counter clockwise. Remove test CAP (2).
• Remove PROTECTIVE HOUSING (3) from
CARTRIDGE (4). Install with "UP" text on top.
• Reinstall BONNET NUT (1) onto VALVE BODY (5)
and tighten firmly with 12 Nm or 9 lbs/ft.
5
2
NOTE: Specified tightening torque
of BONNET NUT (1) is critical to
assure sealing function.
- 1 -
Channel Locks
1
3
4
M965941 Rev. 1.1 (3/20)
6
Tabla de contenido

Manuales relacionados para American Standard Berwick TU430500


Resumen de contenidos para American Standard Berwick TU430500
-
Página 11: Herramientas Recomendadas
Accesorios de Baño y TU431.501 Ducha con Desviador TU431.502 Gracias por elegir American Standard, el punto de referencia de óptima calidad durante más de 140 años. Para realizar la instalación sin problemas, lea atentamente estas instrucciones antes de comenzar. -
Página 12: Instalar El Chapetón De La Válvula (Instalación En Pared Estándar)
INSTALAR EL CHAPETÓN DE LA VÁLVULA (INSTALACIÓN EN PARED ESTÁNDAR) • Figura 1. Empuje la TAPA (1) por encima del CARTUCHO DE LA VÁLVULA (2) hasta que esté apoyada contra el PROTECCIÓN DE YESO dispositivo de retención. • Figura 2. Empuje el PROTECTOR DEL CHAPETÓN (3) en la TAPA (1) y fije el cuerpo de la válvula usando los TORNILLOS LARGOS (4). -
Página 13: Instalación De La Manija
INSTALE, CANALÓN DE TINA, CABEZA DE DUCHA, BRAZO DE DUCHA CON REBORDE JUNTA TÓRICA Proteja el acabado en la CABEZA PRECAUCIÓN: DE LA DUCHA y el PICO DE LA TINA al realizar la instalación. Nota: Aplique sellador o cinta de Teflón a las conexiones de la ducha. -
Página 14: Reemplazar El Cartucho
SERVICIO Apague los suministros de agua PARA ACCEDER A LA VÁLVULA Y DARLE SERVICIO PRECAUCIÓN caliente y fría antes de comenzar. • Retire la MANIJA (vea el paso 3 e inviértalo). • Retire el CHAPETÓN y la TAPA DEL CARTUCHO (vea el paso 1 e inviértalo). FUGAS EN LA VÁLVULA CUANDO ESTÁ... -
Página 15: Comprado Por Separado
Berwick / Boulevard ® ® Equilibrio de Presión Juego de Accesorios de Baño y Ducha con Desviador NÚMEROS DE MODELO TU430.500 / TU431.500 TU430.501 / TU431.501 TU430.502 / TU431.502 A912655-0070A JUNTA TÓRICA M962847-YYY0A BRAZO DE LA REGADERA Y BRIDA 1660681-YYY REGADERA M970654-0070A (2.5 GPM)