Baby Jogger city tour 2 Instrucciones Para El Ensamblaje
Ocultar thumbs
Ver también para city tour 2:
- Instrucciones de montaje (148 páginas) ,
- Manual de instrucciones (29 páginas)
Tabla de contenido
Publicidad
Idiomas disponibles
Idiomas disponibles
Enlaces rápidos
Publicidad
Tabla de contenido

Manuales relacionados para Baby Jogger city tour 2


Resumen de contenidos para Baby Jogger city tour 2
- Página 1 ASSEMBLY INSTRUCTIONS babyjogger.com INSTRUCCIONES PARA EL ENSAMBLAJE ©2019 NWL0000880831C 6/19 IMPORTANT: Read carefully and keep for future reference. Your child’ s safety may be affected if you do not follow these instructions.
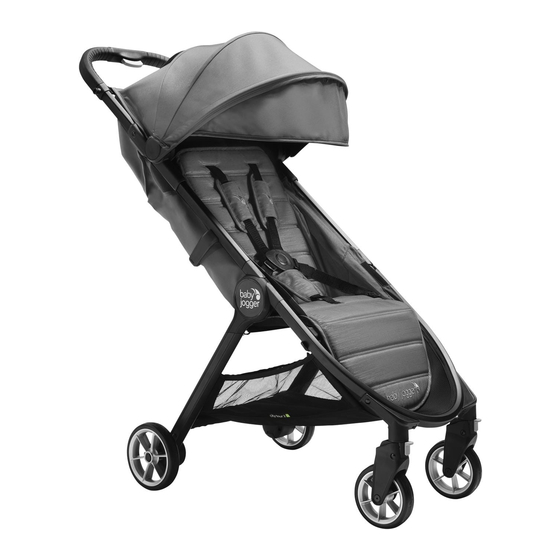
- Página 2 Handlebar Swivel/Lock Canopy Front Wheel Canopy Extension Handlebar Fold Release Button Harness Pads and Buckle Pad Handlebar Fold Button Harness Buckle Parking Brake Rear Wheel Rear Wheel Release Button Storage Basket Front Wheel Release Button Leg Support Auto-lock Footwell...
- Página 3 CLICK CLICK...
- Página 4 CLICK...
- Página 8 CLICK...
- Página 9 • Accessories which are not approved by • Maximum weight is 45 lb (20.5 kg); Baby Jogger shall not be used. maximum height is 40 in (101.6 cm). • Watch out for cars - never assume that a •...
-
Página 10: Front Wheel
FRAME REAR WHEELS 1 Unpack the stroller frame from the 8 Installation box and set the wheels aside. • Align the rear wheel axle with the Unlock the stroller by pulling the wheel mount on the stroller frame auto-lock lever. and insert it into the wheel mount 2 Pull the lower front frame of the until it locks into place. -
Página 11: Basket Removal
30 From underneath the stroller, WARNING: Always use the crotch unfasten the snaps of the basket strap in combination with the near the rear of the stroller. shoulder straps and waist belt. 31 At the rear of the stroller, push up on 16 Slide the harness pads up to access the hanging clips to remove them plastic guide on strap. -
Página 12: Care And Maintenance
• Do not press, iron, dry clean, tumble dry or wring the fabric. • If the seat covers need to be replaced, only use parts from a Baby Jogger Authorized Dealer. They are the only ones that are guaranteed to have been safety tested and designed to fit this seat. - Página 13 Baby Jogger’ s Limited Lifetime Warranty: Baby Jogger warrants that the frame is free of manufacturer defects for the lifetime of the product. Manufacturer’ s defects include but are not limited to the breaking of welds and frame tube damage. Textile or soft side materials and all other components shall be warranted for one year from the date of purchase (except for tubes and tires).
- Página 14 Manillar Traba antigiratoria Capota Rueda delantera Extensión de la capota Botón de liberación de pliegue del manillar Almohadillas del arnés y de la hebilla 13 Botón de pliegue del manillar Hebilla del arnés Freno de estacionamiento Rueda trasera Botón de liberación de las ruedas traseras Canasta de almacenamiento Botón de liberación de las ruedas delanteras Apoyapiés...
- Página 15 • Los accesorios que no están aprobados COCHECITO SIMPLE por Baby Jogger no deben usarse. • Este cochecito es para un pasajero. • Esté atento a los automóviles; nunca NUNCA deje a más de un niño por vez suponga que un conductor puede verla a en este cochecito.
- Página 16 ARMAZÓN en el montante de la rueda hasta 1 Desempaque el armazón del que se trabe en su lugar. Escuchará cochecito de la caja y deje a un sonido. un lado las ruedas. Destrabe el • Tire suavemente de la rueda cochecito tirando la palanca de traba trasera para asegurarse de que esté...
-
Página 17: Inclinación Del Apoyapiés
ADVERTENCIA: Evite serias 26 Levante el soporte para las lesiones causadas por caídas o pantorrillas y desabroche la tira de resbalones. Ajuste y sujete siempre sujeción que hay debajo del soporte correctamente el arnés de seguridad. para las piernas. ADVERTENCIA: Use siempre 27 Retire la tela del asiento de la barra la correa de la entrepierna en del soporte para las pantorrillas. - Página 18 40 Desenganche las seis tiras de sujeción situadas en el respaldo del asiento. 41 Retire la tela del asiento de los canales del armazón situada en la parte superior del asiento. ADVERTENCIA: Asegúrese de que todos los sujetadores estén correctamente cerrados al volver a sujetar la tela del asiento.
-
Página 19: Cuidado Y Mantenimiento
CUIDADO Y MANTENIMIENTO Para preservar la longevidad de su Cuidado de las ruedas cochecito, es importante realizar tareas • Se pueden limpiar las ruedas usando periódicas simples de mantenimiento. un trapo húmedo. Se deberá secarlas De vez en cuando, asegúrese de que las completamente con una toalla o trapo uniones y lugares con pliegues todavía suave. - Página 20 Garantía limitada de por vida de Baby Jogger: Baby Jogger garantiza que el armazón no tiene defectos de fabricación durante toda la vida del producto. Los defectos de fabricación incluyen pero no se limitan a la rotura de soldaduras y daños a los tubos del armazón. Los materiales textiles o blandos del costado y todos los otros componentes están garantizados por un año desde la fecha de compra...
- Página 24 Baby Jogger, LLC 6655 Peachtree-Dunwoody Rd. NE • Atlanta, GA 30328 www.babyjogger.com...