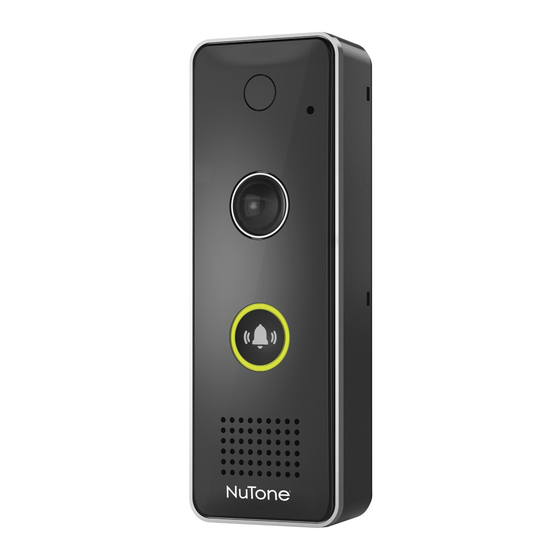
Broan-NuTone KNOCK DCAM100FM Instrucciones De Instalación
Idiomas disponibles
Idiomas disponibles
Enlaces rápidos
Flush Mount
Installation
DCAM100FM
Instructions
System Overview
CHIME BOX
DOORBELL TRANSFORMER
4
Cut Out for Rough-in Box
• Use template (provided) to trace the
rough-in cutout area in desired location.
• Use a level to align the
template.
• Use a saw to cut
out traced area
TRACE
accurately.
AND CUT
TRIM RING
LOCATION
System Description
CHIME BOX
SMART
DOORBELL
CAMERA
DOORBELL
TRANSFORMER
WiFi COMMUNICATIONS
1
Prepare for Installation
VERIFY WiFi STRENGTH
• Go to existing doorbell location.
• Use a Smartphone connected to the installations WiFi
router to confirm adequate signal strength (2 - 3 bars).
SMARTPHONE
DOORBELL
5
6
Install Rough-in Box
• Method 1: Ensure that screws will have
• Run wires into rough in box for
proper supporting material in the wall.
• Connect doorbell wires using weather-resistant
• Method 2: Wall board must be 1-inch or
less in thinkness to use tabs. Do not
overtighten, as tabs can break.
1. TWIST THEN
FEED WIRES INTO
SHORT END OF
CONNECTOR
- OR -
Doorbell Camera Components
SMART
DOORBELL
CAMERA
ANCHORS
(3)
CLOUD
PHILLIPS SCREWS
(3)
SMARTPHONE
TORX SCREW (4)
CONNECTORS (4)
TORX
WRENCH
2
Installing Diode in Chime Box
NOTE: It is recommended to TURN POWER OFF
before performing any wiring.
1
OPEN CHIME BOX
NOTE: Not
compatible
with
electronic
EXISTING
chimes
IMPORTANT STEP
NOTE: When (2)
DCAM100FM's are used,
connect a second diode
between REAR and
TRANS terminals.
Wiring Doorbell Camera
electrical connections.
wire connectors (included).
2
CRIMP WIRES WITH
.
PLIERS ON SHORT END
OF CONNECTOR
CONNECTORS IN PLACE
ROUGH-IN
CAMERA
MOUNTING
TRIM
BOX
RING
(Sold separately)
WIRE STRIPPERS / CUTTER
PLIERS
WIRE
DIODES FOR
CHIME BOX (2)
JIGSAW
3
• Remove existing doorbell pushbutton from location.
• Disconnect wires from back of pushbutton.
2
INSTALL DIODE AS SHOWN
REAR TRANS FRONT
CHIME BOX
FRONT VIEW
REAR
TRANS
FRONT
WITHOUT COVER
7
Camera Installation / Security Screw
• Use 4 security screws
(provided) with tool
(provided) to secure
camera to rough
in box.
Tools For Installation
PHILLIPS SCREWDRIVER
FLAT SCREWDRIVER
LEVEL
Existing Doorbell Removal
DISCONNECT WIRES
FROM PUSHBUTTON
DOORBELL
8
Complete Installation
• Press the trim ring into place.

Manuales relacionados para Broan-NuTone KNOCK DCAM100FM

Resumen de contenidos para Broan-NuTone KNOCK DCAM100FM
- Página 5 Descripción del sistema Componentes de la cámara del timbre Herramientas para la instalación CAJA DE CÁMARA DESTORNILLADOR PHILLIPS MONTAJE DEL TIMBRE CAJA DE TIMBRES EMBELLECEDOR DE EMPALME CÁMARA INTELIGENTE DE LA (se vende DEL TIMBRE CÁMARA DESTORNILLADOR DE CABEZA PLANA Montura empotrada para por separado) INTELIGENTE...
-
Página 6: Estado De Los Indicadores Led
DCAM100FM. Periodo y exclusiones de la garantía: Broan-NuTone LLC (la “Compañía”) garantiza al consumidor comprador original de su producto (“usted”) que el producto (el “Producto”) estará libre de defectos en materiales o en mano de obra, por Este dispositivo cumple con la Parte 15 de las reglas de la FCC. La operación está...