Tabla de contenido
Publicidad
Idiomas disponibles
Idiomas disponibles
Enlaces rápidos
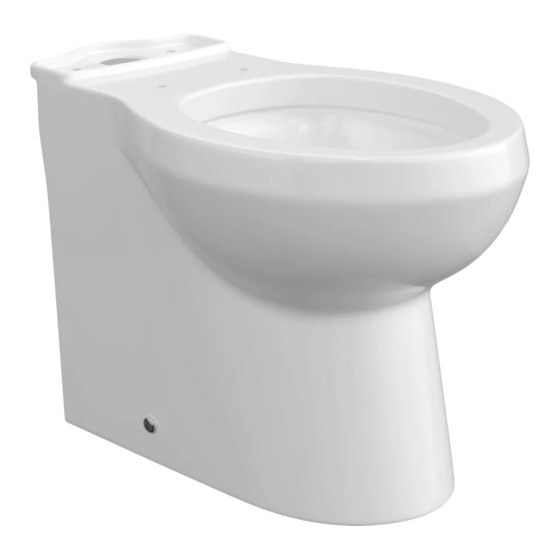
InstallatIon InstructIons
skIrted het two pIece toIlet
NOTE: If installing the PF9002SWH please disregard the installation instructions included with the tank and use this set of installation instructions
Tools Needed
I. T-bolts (2), Nuts (2),
A. Screw Driver
Washers (2)
B. Adjustable Wrench
J. Flexible Supply Tube
C. Marker
D. Tape Measure
Items Included
E. Level
K. Fixing Screws (2),
F. Drill
Decorative Caps (2),
G. Toilet Flange
Cap Base (2)
H. Wax Ring
L. Flange Connecting
"L" Brackets (2)
Remove Old Toilet
Shut off water supply line to toilet. Flush toilet
and remove all water from the bowl and tank
using a sponge. Disconnect the water supply
from the tank. Remove the tank from bowl,
use a screw driver and adjustable wrench or
socket wrench. Loosen toilet bowl flange nuts
under bolt caps. Remove old bowl by carefully
lifting it off the floor. Clean flange and plug
drain with a rag to prevent sewer gas from
escaping. Replace or repair if required.
Install Connecting "L" Brackets and
the Wax Ring Seal
1. Check the rough-in dimension, this is the
distance from wall to center of outlet.
2. Place two new T-connection bolts into the
slot on the toilet flange.
3. Install the connecting "L" brackets onto
the T-bolts with the flat side toward the
outside of the flange, adjust the spacing
on the outside of the bracket to be 8-1/4"
(210mm), now attach the washers and nuts
to the T-connection bolts and tighten the "L"
brackets snug and direct to the floor flange.
4. Set the wax ring into the outlet between the
T-connection bolts.
D.
A.
B.
C.
G.
K.
Note: Views in this illustrations are for general representation and may not necessarily define the exact contours of the product.
T-Bolts
Floor
Outlet
Flange
Install Water Closet Base
1. Place toilet bowl upside down on clean
surface.
2. Install a bead of sealant or plumbers putty
around the outside foot base on 3 sides.
Sealant or
Plumber Putty
Flange
Connection
Holes
Decorative Cap
E.
H.
I.
L.
3. Now lift the bowl over the flange and
Wax Ring
lower the bowl into place allowing the "L"
Brackets to align with the holes on the skirt
T-Bolt,
Nuts &
of the toilet bowl.
Washer
4. Firmly push the toilet down seating the bowl
horn into the wax ring seal.
5. Set the bowl in place by gently rocking back
and forth on the bowl rim. The "L" brackets
should extend up through the slots on both
sides of the outlet horn.
Outlet Horn
6. With bowl firmly set, insert fixing screws
into the seat base, slide the connection
screw and base into the flange
connection holes and tighten on both sides
of the bowl evenly until snug.
7. Snap decorative cap over connection
screw head.
Connection Screw
F.
J.
Base
Publicidad
Tabla de contenido

Manuales relacionados para PROFLO PF9002SWH


Resumen de contenidos para PROFLO PF9002SWH
-
Página 9: Herramientas Necesarias
InstruccIones de InstalacIón Inodoro de dos pIezas het lIso NOTA: Si está instalando el PF9002SWH, ignore las instrucciones de instalación incluidas con el tanque y utilice estas instrucciones de instalación Herramientas necesarias I. Pernos en T (2), tuercas (2), Arandelas (2) A. -
Página 10: Instale El Tanque Del Inodoro A La Taza
InstruccIones de InstalacIón Inodoro de dos pIezas het lIso Instale el tanque del inodoro a la taza Enganche de 1. Retire cuidadosamente el tanque del embalaje cadena para unir a la palanca de y apóyelo sobre una superficie limpia y estable descarga sobre su parte trasera. -
Página 11: Cuidado Y Mantenimiento
Algunos 1. Ubique suavemente la tapa sobre el tanque 2. Garantía Limitada para accesorios químicos y productos cosméticos para baño PROFLO nula. del inodoro. pueden dañar el acabado del asiento. 2. Instale el asiento del inodoro según las PRECAuCIÓN: El producto es frágil. -
Página 12: Garantía
En todos los casos, se solicitará el comprobante de compra. Llame ¿QuÉ CuBRE? al Servicio al Cliente de PROFLO al 800-221-3379 para recibir Ferguson Enterprises, Inc. “Ferguson” o la “Compañía” garantiza que atención al cliente, solucionar problemas de defectos y por consultas este producto está...