Grohe TALIA 19 264 Manual Del Usuario
Idiomas disponibles
Idiomas disponibles
Enlaces rápidos
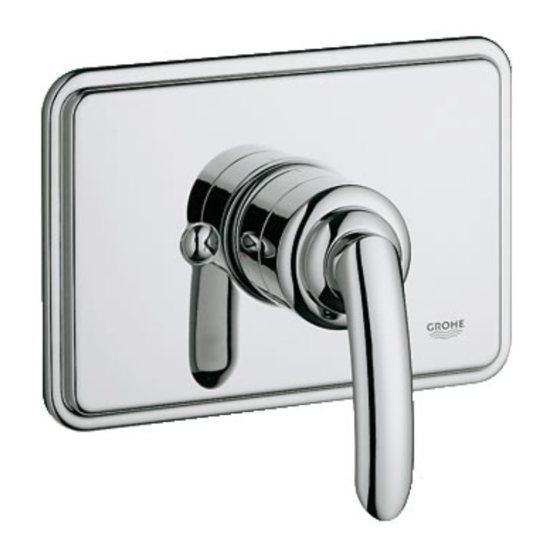
TALIA
DESIGN + ENGINEERING
GROHE GERMANY
94.846.031/ÄM 225244/03.15
www.grohe.com
19 264
.....1
.....1
.....6
.....2
D
D
NL
NL
English
.....1
.....1
.....2
.....3
.....7
GB
GB
S
S
Français
.....2
Español
.....3
.....1
.....3
DK .....8
DK .....3
F
F
.....2
.....4
.....3
.....9
E
E
N
N
.....5
.....2
.....4
...10
I
I
FIN
FIN
.....4
.....11
P
P
.....6
.....16
PL
PL
.....4
.....12
.....6
.....17
TR
TR
UAE
UAE
.....5
.....13
.....18
.....6
GR
GR
SK
SK
.....5
.....14
.....7
.....19
CZ
CZ
SLO
SLO
.....15
.....5
.....7
.....20
H
H
HR
HR
.....21
.....7
.....26
.....9
BG
BG
CN
CN
.....22
.....8
UA
UA
EST
EST
.....9
.....27
.....23
.....8
LV
LV
RUS
RUS
...10
.....28
LT
LT
.....24
.....8
.....25
.....9
RO
RO

Manuales relacionados para Grohe TALIA 19 264


Resumen de contenidos para Grohe TALIA 19 264
- Página 1 TALIA DESIGN + ENGINEERING GROHE GERMANY 94.846.031/ÄM 225244/03.15 www.grohe.com 19 264 ..1 ..1 ..6 ..2 ..11 ..4 ..16 ..6 ..21 ..7 ..26 ..9 English ..1 ..2 ..1 ..7 ..3 ..12 ..4 ..17 ..6 ..22 ..8 ..27 ..9 Français ..2 Español ..3...
- Página 2 Please pass these instructions on to the end user of the fitting. S.v.p remettre cette instruction à l'utilisateur de la robinetterie! Entregue estas instrucciones al usario final de la grifería!
- Página 3 35 015 19 264...
-
Página 6: Instalación
Español Instalación 5. Coloque el volante (E) y cierre la válvula, girando para ello el volante en el sentido de los punteros del reloj. Saque a 1. Saque los dos tornillos (A1) del patrón de montaje (A) continuación nuevamente el volante. y extraiga a continuación el patrón, ver la página 6.