Carlyle DTW14FL Manual Del Usuario
Tabla de contenido
Idiomas disponibles
Idiomas disponibles
Enlaces rápidos
DTW14FL
DTW14FL
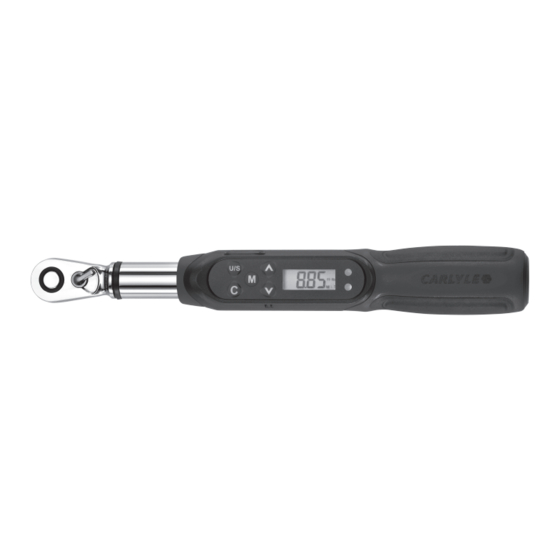
1/4" Dr. Digital Torque Wrench
1/4" Torque Range . . . . . . . . . . . . . . . . . . . . . . . . . . . . . 0.44 ft.-lbs.-8.85 ft.-lbs.
Accuracy (*1) . . . . . . . . . . . . . . . . . . . . . . . . . . . . . . . . . .(CCW ±3%) (CW ±4%)
Data Memory Values . . . . . . . . . . . . . . . . . . . . . . . . . . . . . . . . . . . . . . . . . . . 50
Number of Presets . . . . . . . . . . . . . . . . . . . . . . . . . . . . . . . . . . . . . . . . . . . . . . . 9
Operation Modes . . . . . . . . . . . . . . . . . . . . . . . . . . . . . . . . . . . . Peak Hold/Track
Unit Selection . . . . . . . . . . . . . . . . . . . . . . . . . . . . . . . . ft-lb, in-lb, N-m, & kg-cm
Head Type . . . . . . . . . . . . . . . . . . . . . . . . . . . . . . . . . . . . . . . . . . . . . Fixed Head
Gear teeth . . . . . . . . . . . . . . . . . . . . . . . . . . . . . . . . . . . . . . . . . . . . . . . . . . . . 60
Audible Alarm . . . . . . . . . . . . . . . . . . . . . . . . . . . . . . . . . . . . . . . . . . . . . . . . . Yes
Buttons . . . . . . . . . . . . . . . . . . . . . . . . . . . . . . . . . . . . . . . . . . . . . . . . . . . . . . . . 5
LED Indicator . . . . . . . . . . . . . . . . . . . . . . . . . . . . . . . . . . . . . . . . . . . . . . 2 LED's
Batteries . . . . . . . . . . . . . . . . . . . . . . . . . . . . . . . . . . . . . . . . . . . . . . . . . . . 1 AAA
Battery Life-Continuous Operation (*2) . . . . . . . . . . . . . . . . . . . . . . . . . . . 12 Hrs
Battery Life-Standby (*2) . . . . . . . . . . . . . . . . . . . . . . . . . . . . . . . . . . . . . . 1 Year
Operating Temperature . . . . . . . . . . . . . . . . . . . . . . . . . . . . . . . . . .14ºF ~ 140ºF
Storage Temperature . . . . . . . . . . . . . . . . . . . . . . . . . . . . . . . . . . . . -4ºF ~ 158ºF
Humidity . . . . . . . . . . . . . . . . . . . . . . . . . . . . . . . . . .Up to 90% non-condensing
DTW14FL
SPECIFICATIONS
1
WARNING
AlwAys reAd
instructions
before using
tools
AlwAys weAr
sAfety
goggles
not
wAterproof
Rev. 12/11/14
Tabla de contenido

Resumen de contenidos para Carlyle DTW14FL
- Página 12 NOTES Memory Prest Newton meters inch/pounds foot/pounds kilogram/centimeters angle Location # (N-m) (in - lb) (ft - lb) (kg -cm) (degree º) DTW14FL Rev. 12/11/14...
- Página 13 DTW14FL DTW14FL Torquímetros digitale 1/4" ESPECIFICACIONES ADVERTENCIA Rango de torsión 1/4" ......0.44-8.85 libras-pie sieMpre Precisión (*1).
-
Página 14: Especificaciones
NOTA IMPORTANTE SOBRE EL ENVÍO: Para evitar daños durante el envío al momento de devolver su torquímetro para reparaciones, por favor envuelva su torquímetro Carlyle en su estuche moldeado original (si viene incluido con su modelo) y empáquelo seguramente con el fin de que esté resistente a los choques de impacto durante el transporte. -
Página 15: Características Y Funciones
Tapa de batería modelo profesional. Utilice por favor el centro de reparación alistado RSDTW14FLCS Estuche moldeadp por soplado bajo la declaración de garantía para todas las reparaciones dentro y RSDTW14FLHRP Equipo de reparación de cabeza para DTW14FL fuera de garantía. REPOSICIÓN DEL EQUIPO DE CABEzA Trinquete 2. Anillo 3. Tapa 4. -
Página 16: Reposición Del Juego De Cabeza
DESENSAMBLE Paso 1: Quite la tapa y resorte por el mango de extremo de punta. Ver la fig. 1 Fig. 1 Fig. 2 Paso 2: Use las pinzas para extraer el encaje cuadrado, trinquete tapa de resorte según la secuencia. Ver la fig. 2 DTW14FL Rev. 12/11/14... - Página 17 Ver la fig. 3 Fig. 3 Fig. 4 REENSAMBLE Paso 1: Use las pinzas para colocar cuidadosamente el resorte y bola de acero en el interruptor. Ver la fig. 4 DTW14FL Rev. 12/11/14...
- Página 18 Use el destornillador plano para presionarlos en su lugar. Ver la fig. 5 Fig. 5 Fig. 6 Paso 3: Inserte el resorte, la tapa del resorte y el trinquete. Sosténgalo con la mano para prevenir la caída del trinquete. Luego colóquelo en el encaje cuadrado para engranar los dientes. Ver la fig. 6 DTW14FL Rev. 12/11/14...
-
Página 19: Instalación De La Batería
Memoria (almacena de hasta 9 valores) 4. Hacia arriba/abajo ESTADO SUSPENDIDO • La llave automáticamente entrará al estado de "suspendido" después de estar parado por 5 minutos con el fin de ahorrar potencia. Oprima para sacar del modo "suspendido". REAJUSTE DE LA LLAVE • Si la llave no funciona de manera normal, oprima a la vez para reajustar la llave. DTW14FL Rev. 12/11/14... -
Página 20: Protección Por Baja De Voltaje De Batería
Kg-cm In-lb por cada una de las unidades. Ft-lb AJUSTANDO LOS VALORES DE TORSIÓN Aumenta el valor Disminuye el valor Valores de torsión de torsión de torsión Use la flecha de Arriba para aumentar el valor de torsión. Use la flecha de Abajo para disminuir el valor de torsión. DTW14FL Rev. 12/11/14... -
Página 21: Reajuste De Valores De Precolocación
2 segundos. Nota: El despliegue brevemente parpadeará la pantalla de "modo". 2. Use los botones de Arriba/Abajo para intercambiar entre los modos de Rastreo (T) retención de picos (P). 3. Oprima el botón cuatro (4) veces para salir del ajuste de modo. DTW14FL Rev. 12/11/14... -
Página 22: Modo De Rastreo
NOTA: Un máximo de 50 valores pueden almacenarse en la memoria de retención de picos. La palabra "FULL" ("LLENO") aparece en el despligue al momento de intentar almacenar más del máximo otorgado. DTW14FL Rev. 12/11/14... - Página 23 3. Oprima el botón una cuarta vez. "ConU" aparece en el despliegue, permitiéndole seguir a proceder con la siguiente función la que se desea realizar. 4. Oprima el botón para volver a la pantalla de despliegue de apertura/comienzo. DTW14FL Rev. 12/11/14...
- Página 24 NOTAS Preajuste de memoria Metros Newton Pulgadas/pie Libras/pie Kilogramo/centímetros ángulo Localización # (N-m) (in - lb) (ft - lb) (kg -cm) (grado º) DTW14FL Rev. 12/11/14...